Webflow Integration
Connect Webflow to Frevana to publish generated content to a CMS Collection. This guide covers the API token, site details, and collection page setup you'll need.
Before you begin
Make sure you have:
- Permission to manage your Webflow site and generate API tokens
- A Webflow site with CMS enabled
- A CMS Collection for your content, such as Blog, Articles, or Resources
If you haven't created a collection yet, we'll walk through that below.
Step 1: Generate an API token
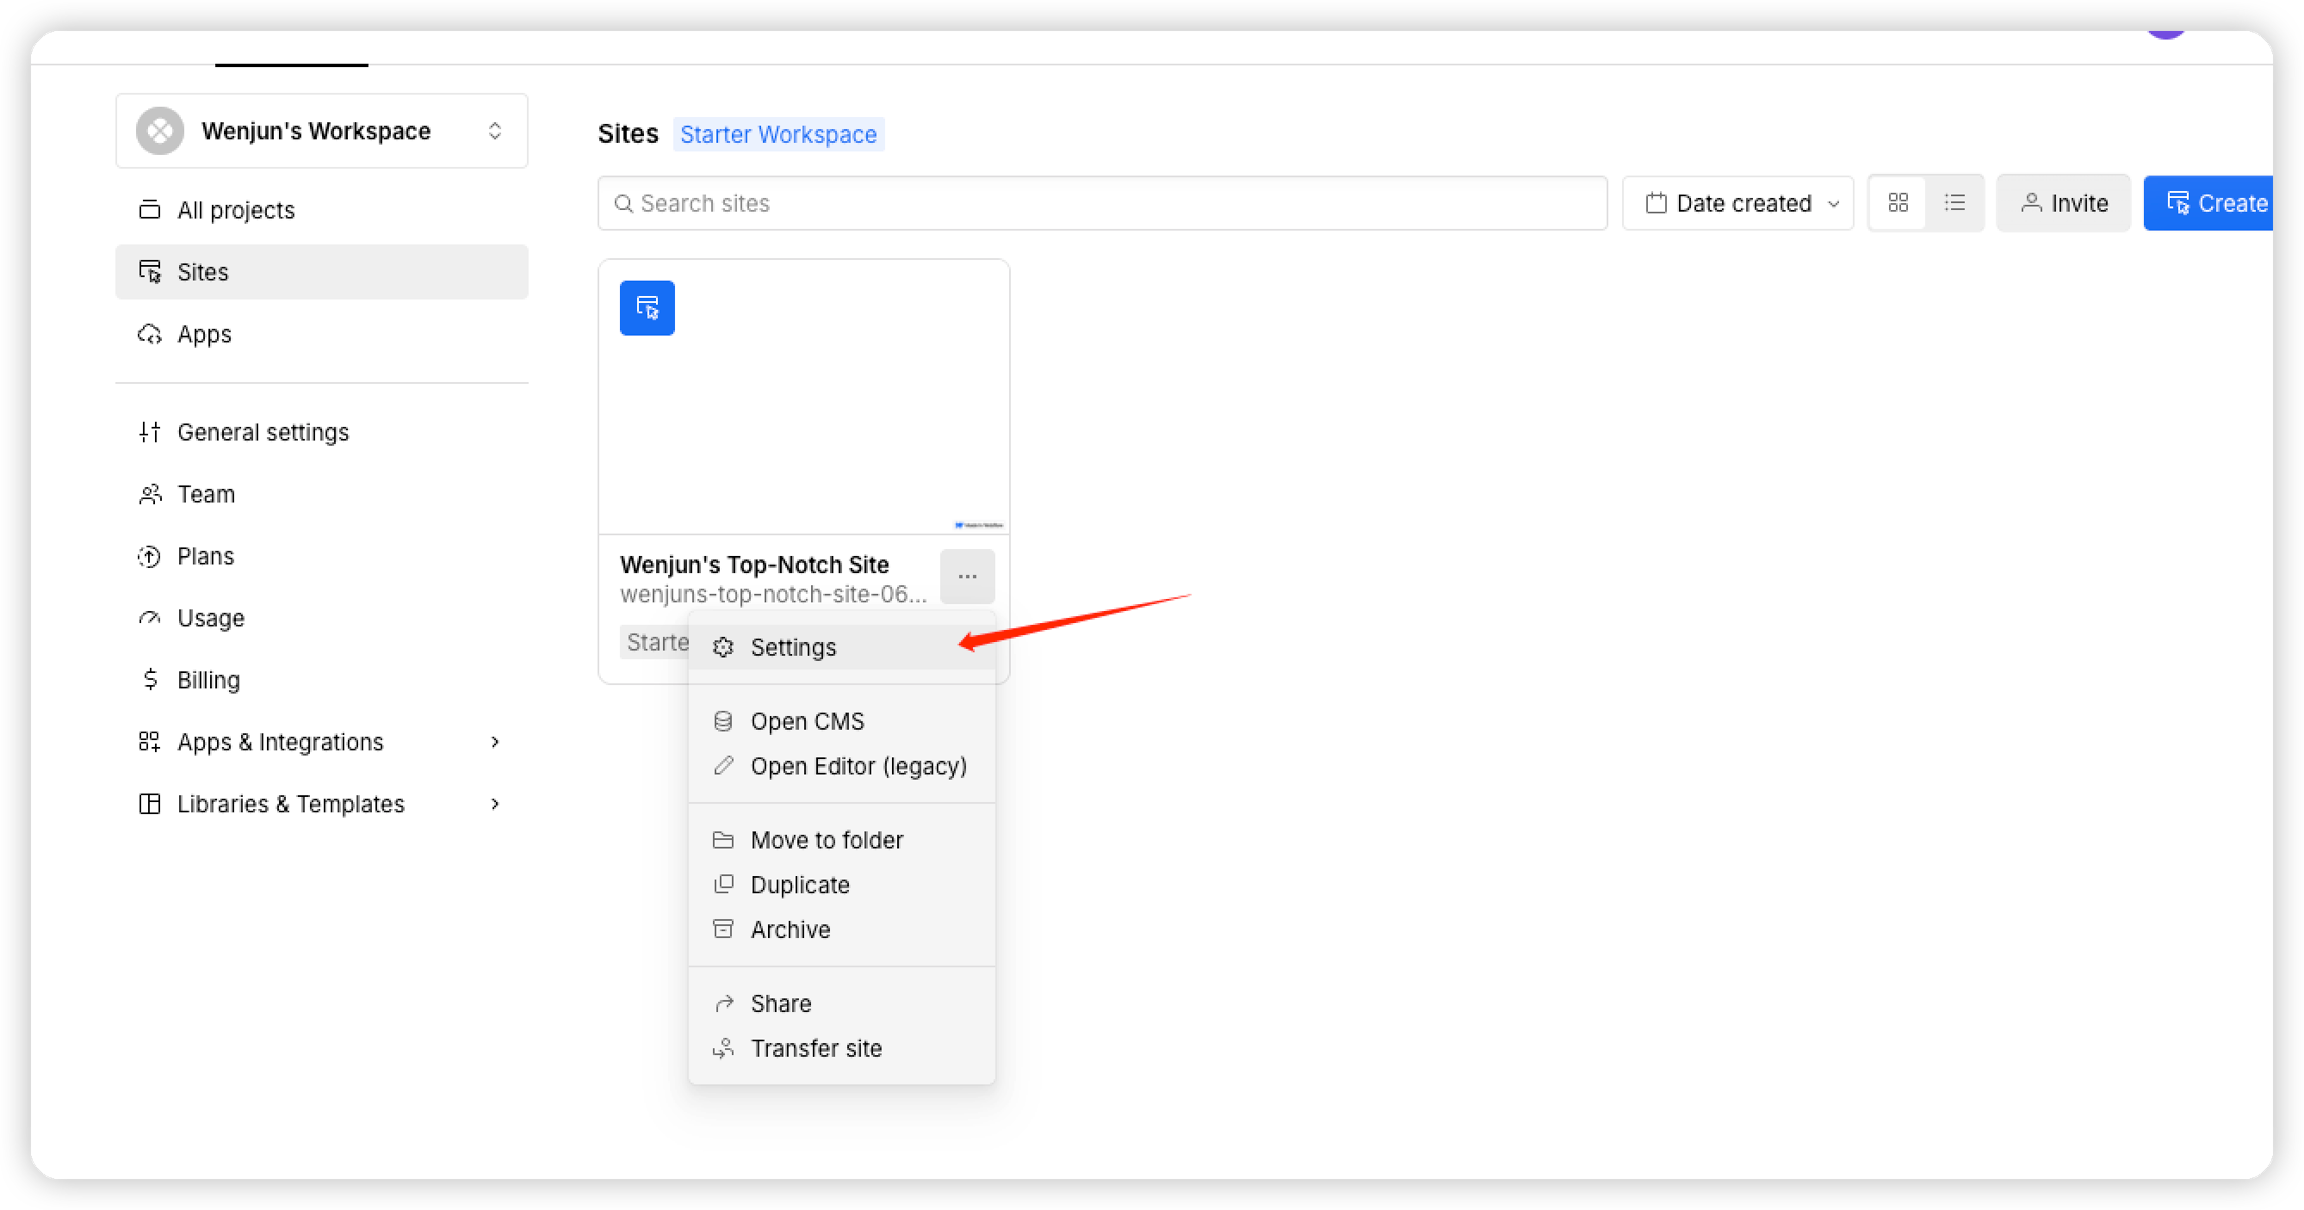
Sign in to Webflow and open Site Settings for the site you'd like to connect.
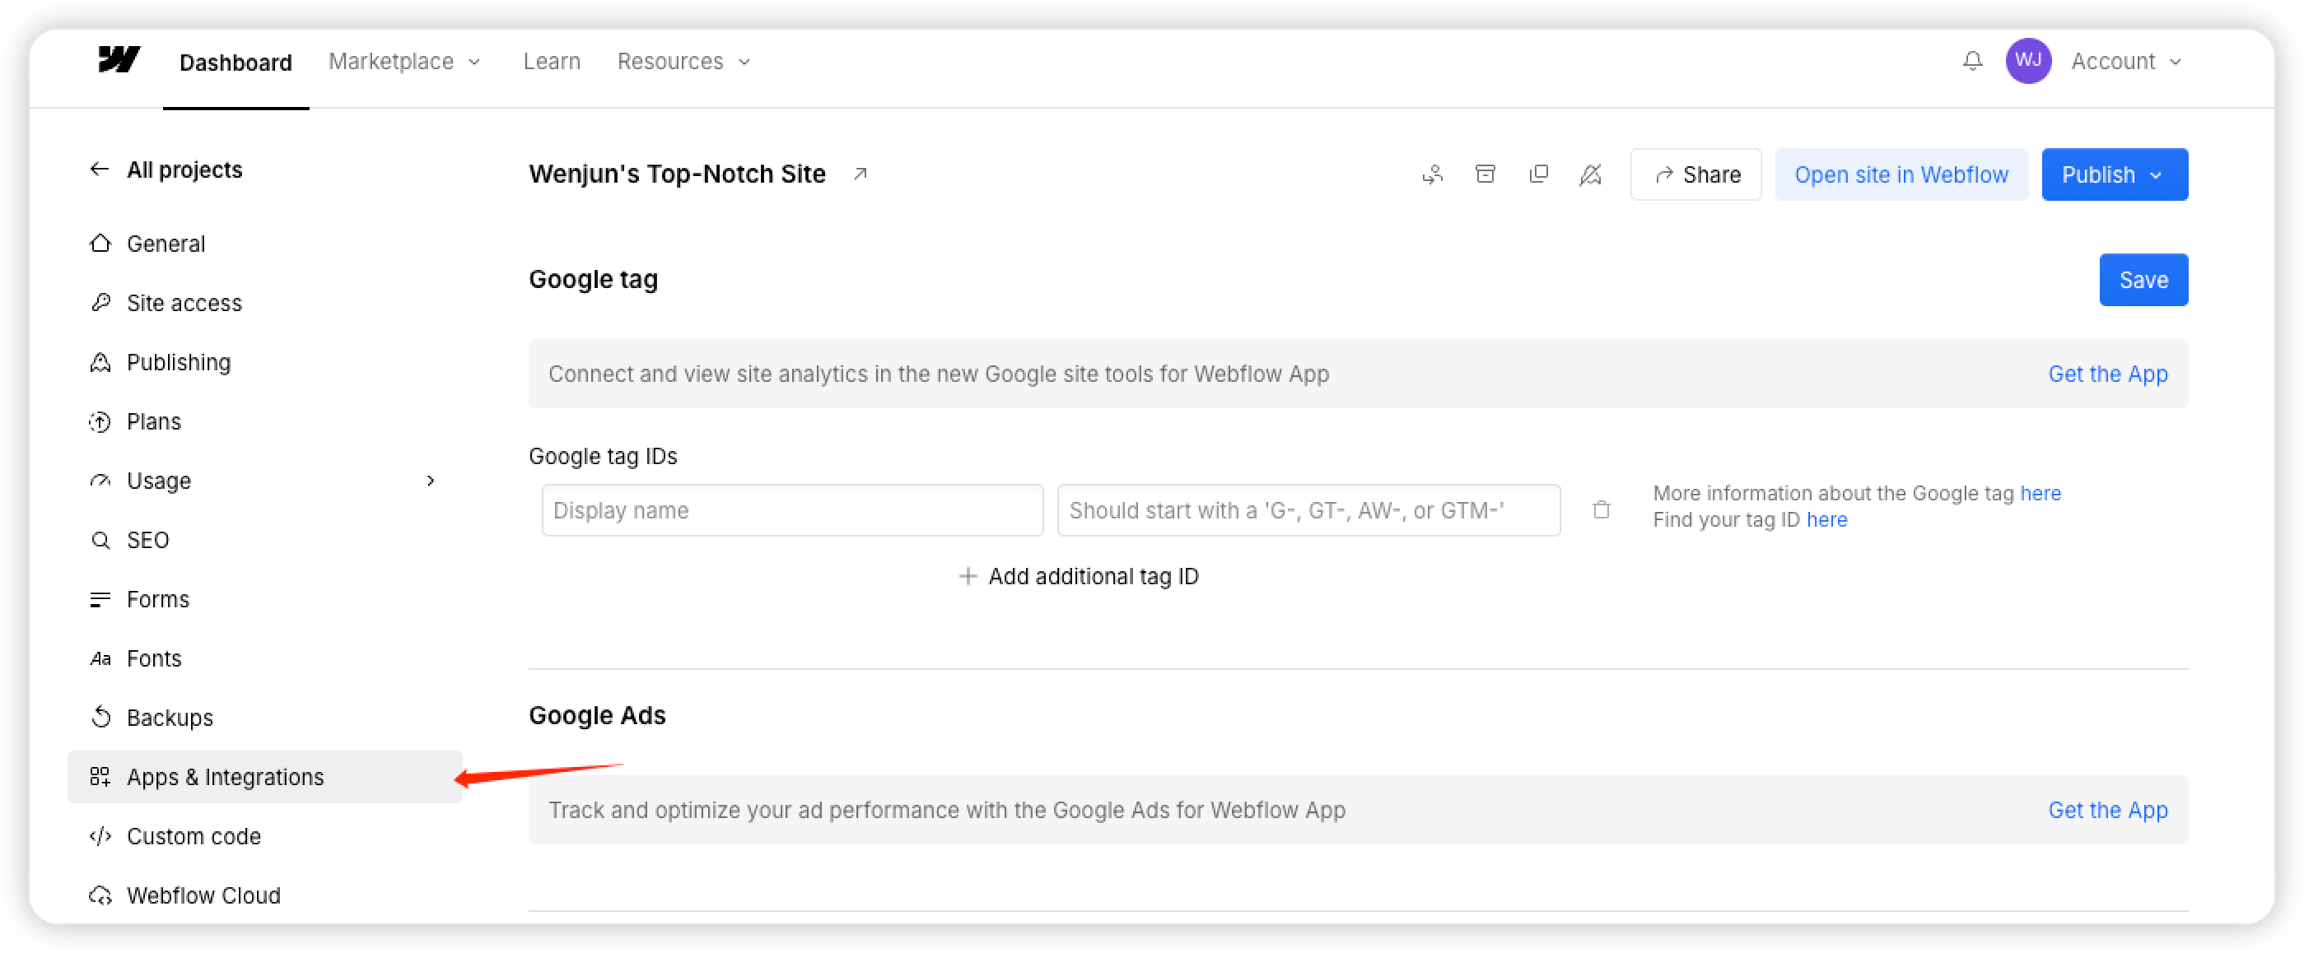
In the sidebar, select Apps & Integrations.
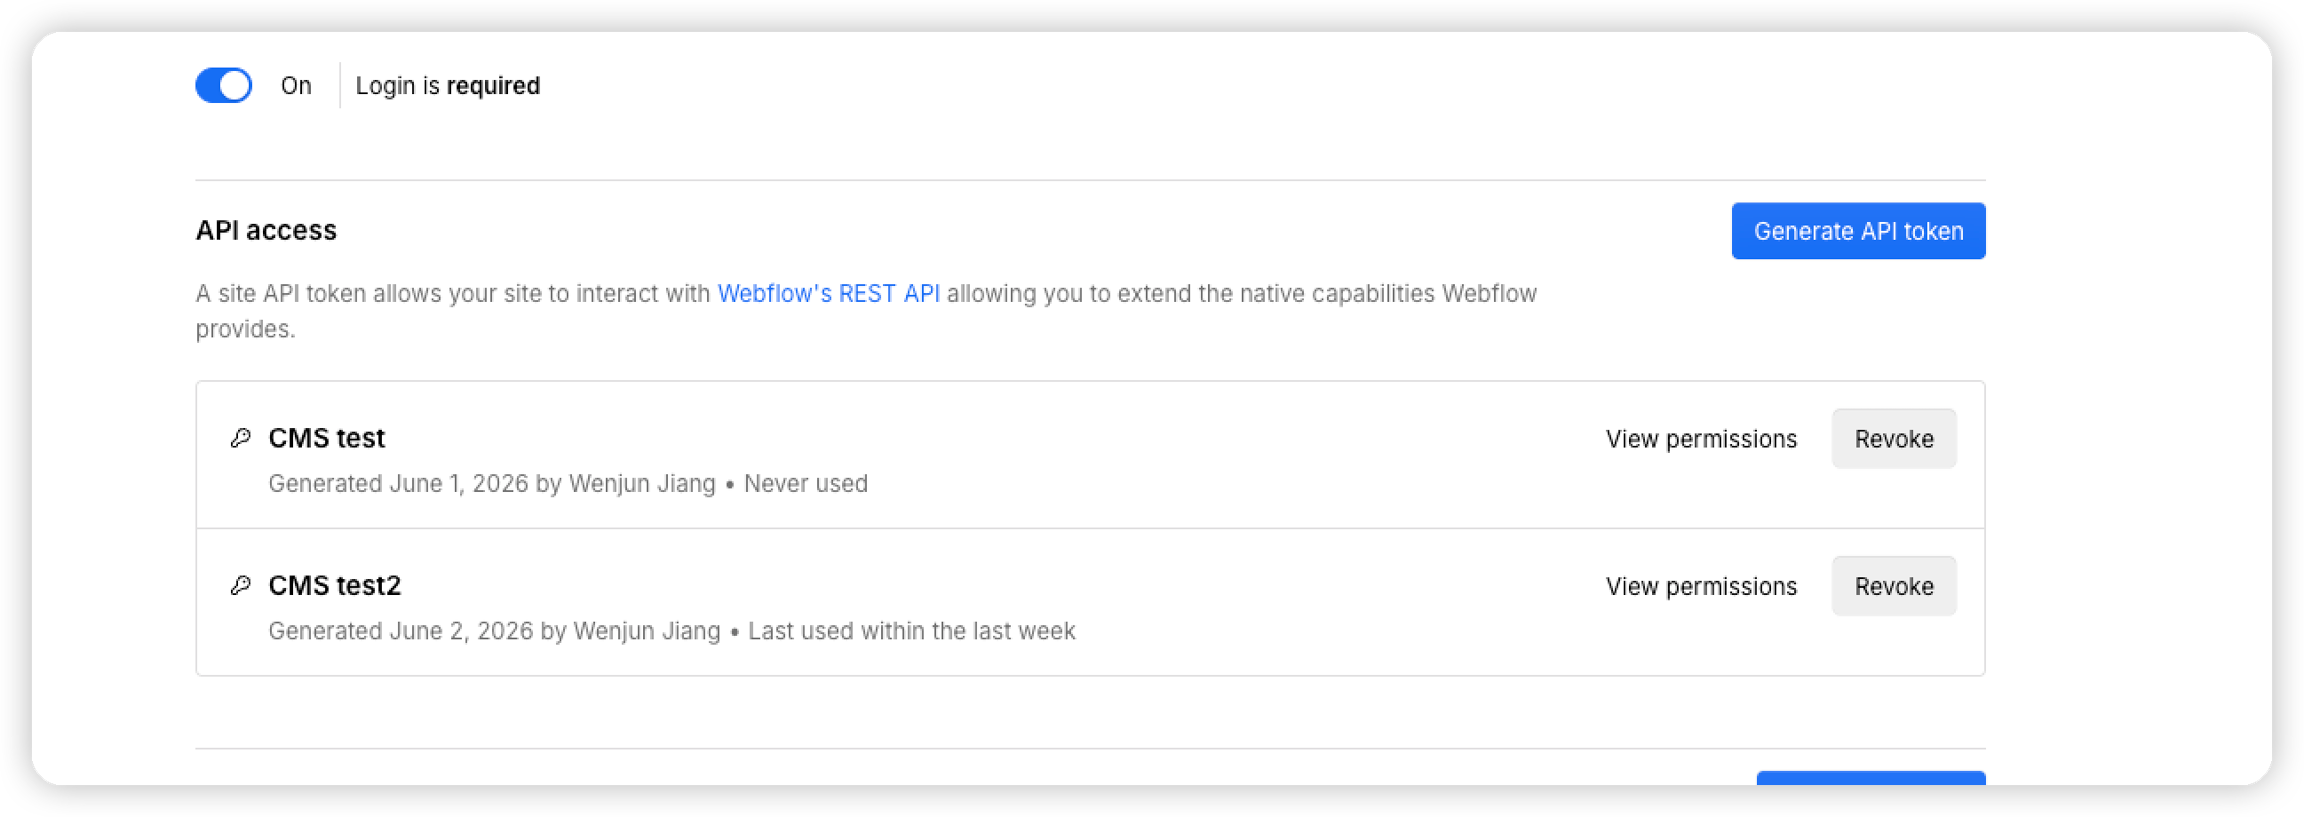
Scroll to API Access and select Generate API Token.
Give the token a recognizable name, such as Frevana CMS Publishing, and enable CMS Read & Write permissions.
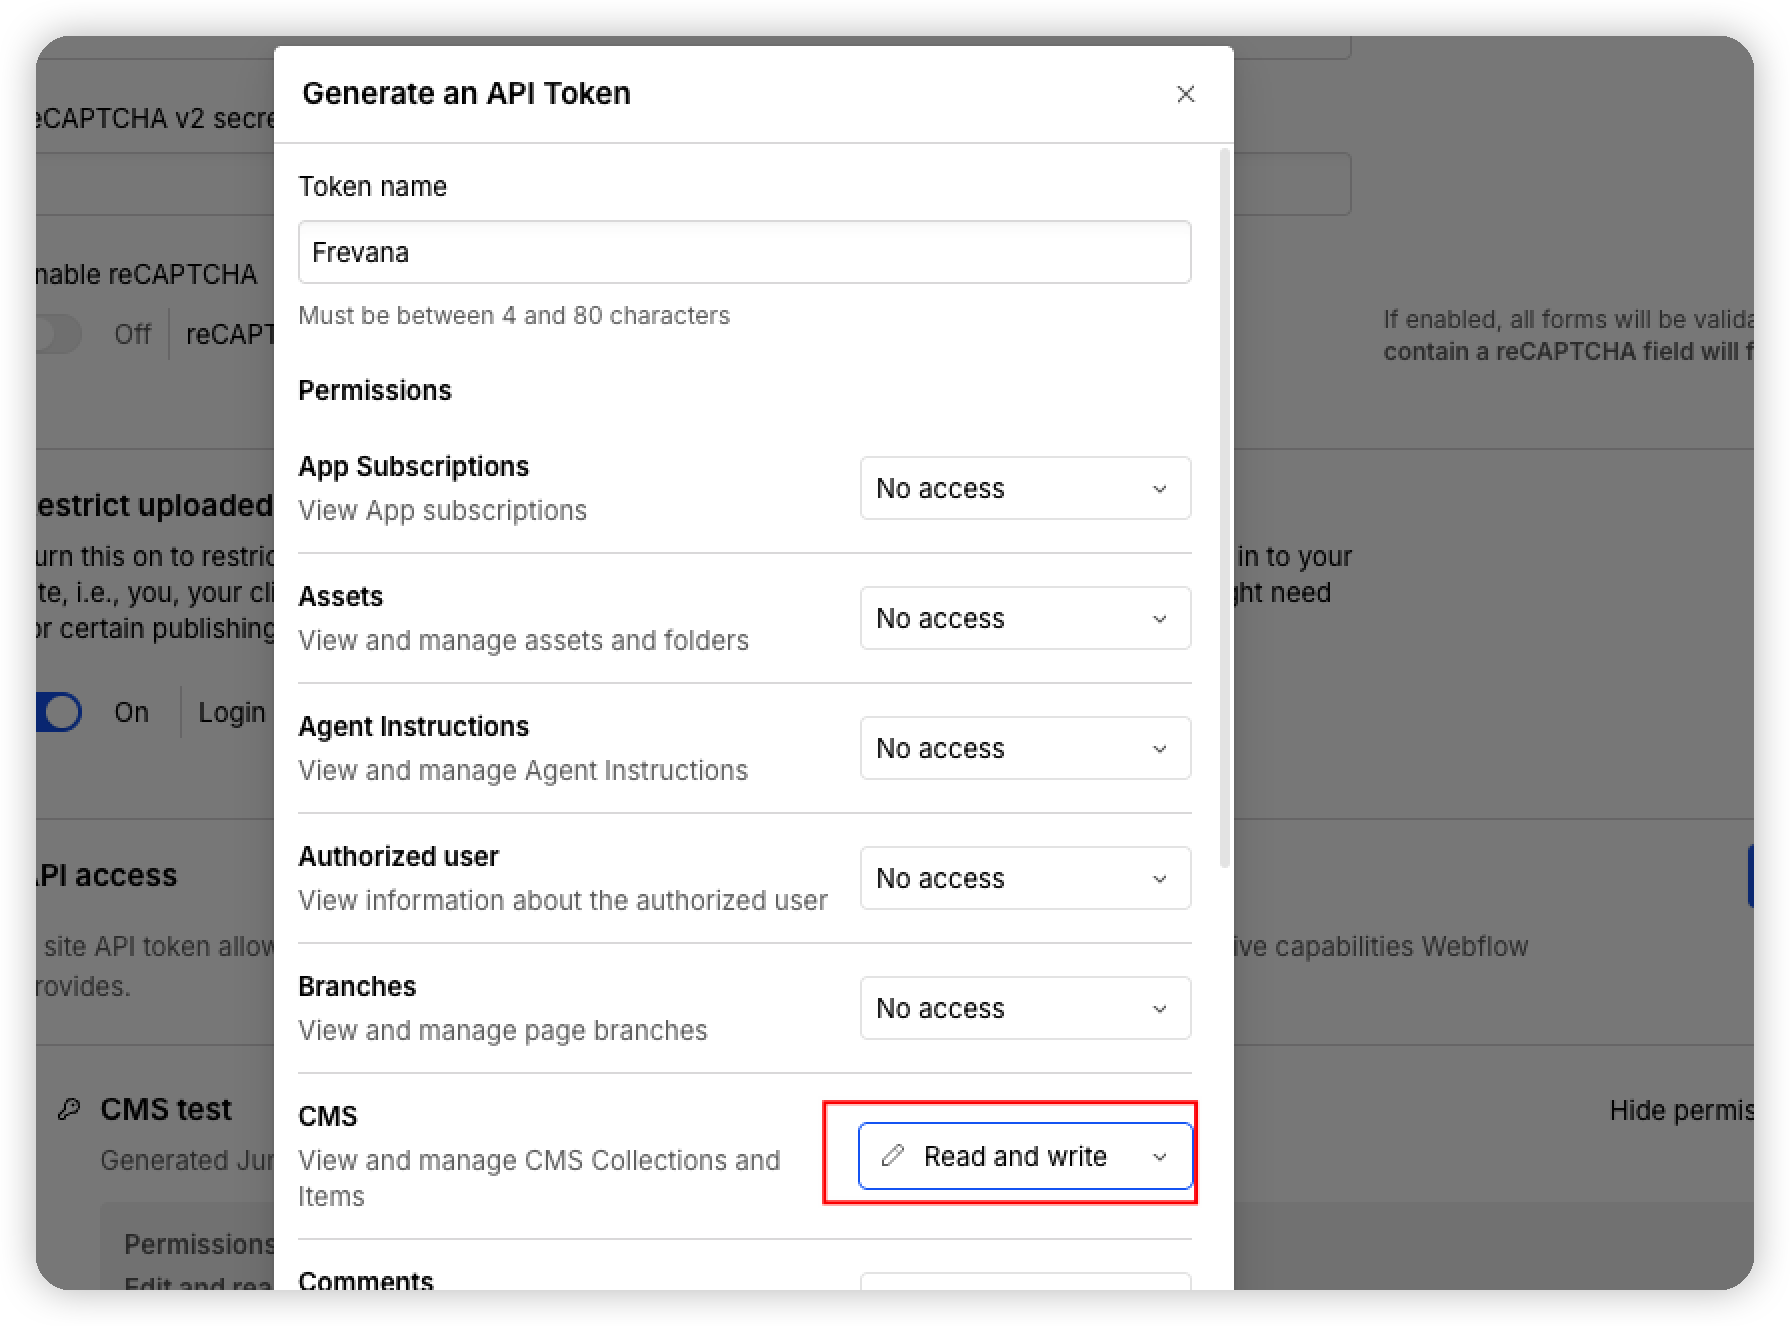
Select Generate Token. Copy the token and enter it in the corresponding field in Frevana.
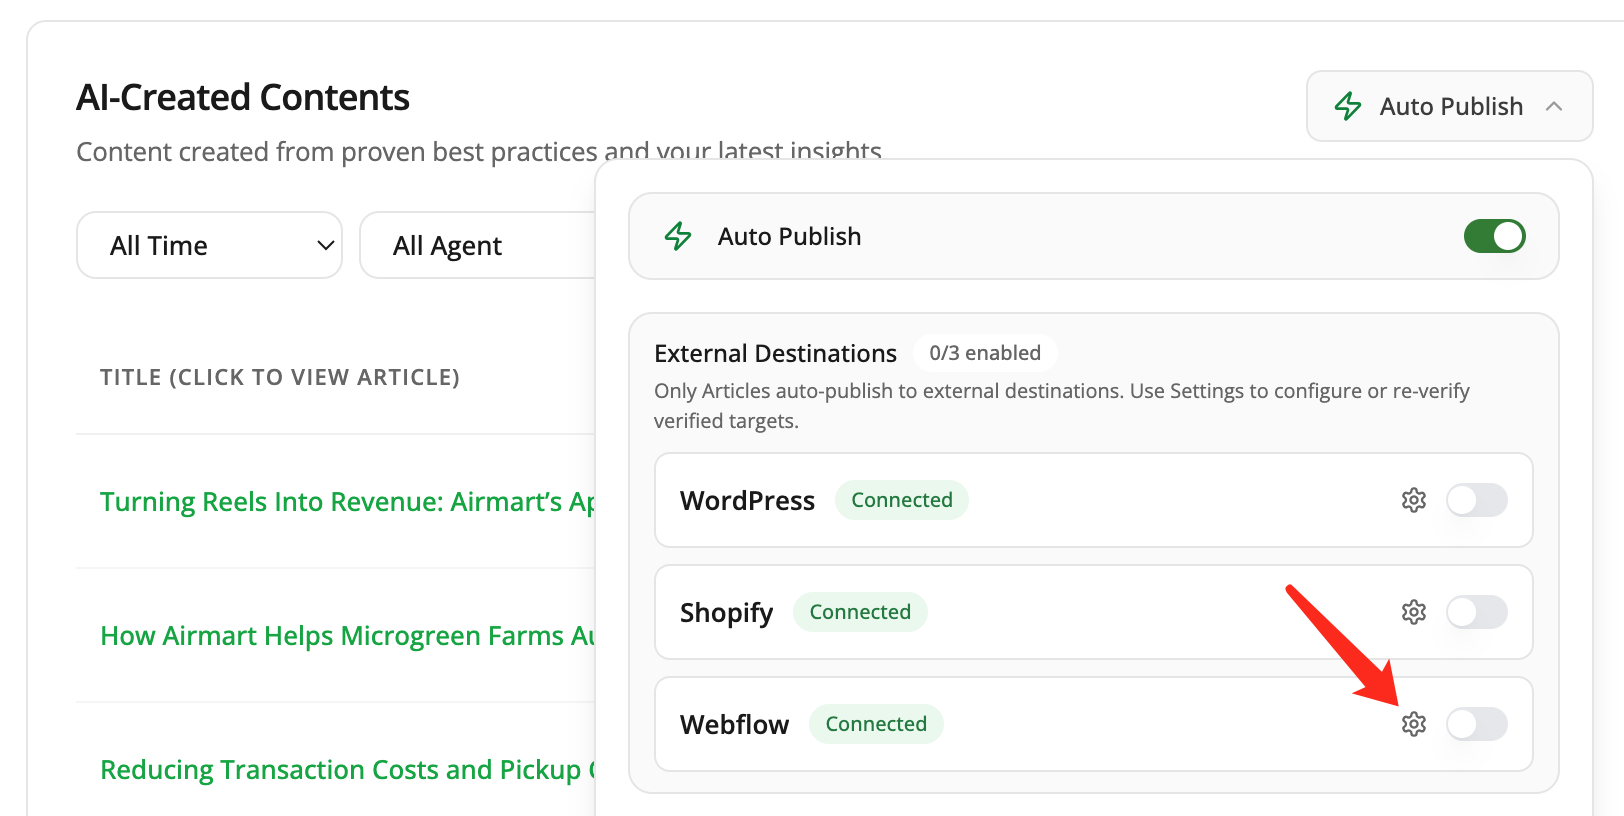
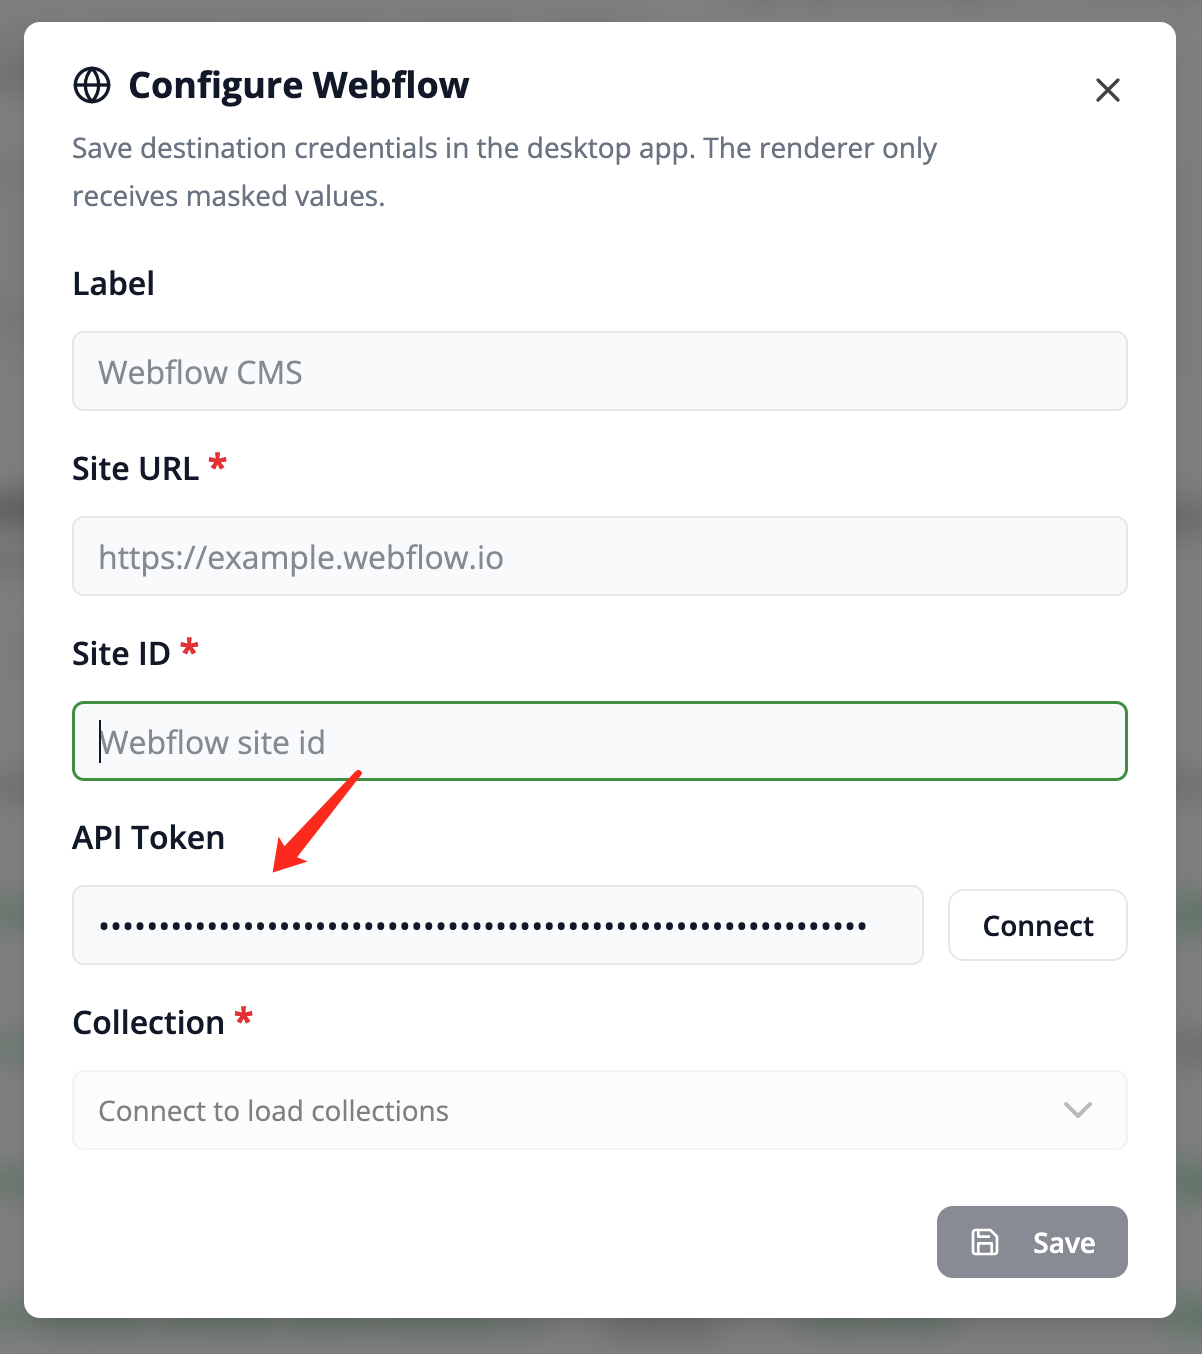
Webflow won't show the token again after you leave the page. Copy it promptly, keep it private, and enter it only in the intended Frevana connection settings.
Step 2: Find your Site ID and Site URL
Frevana uses these details to identify where to publish your content.
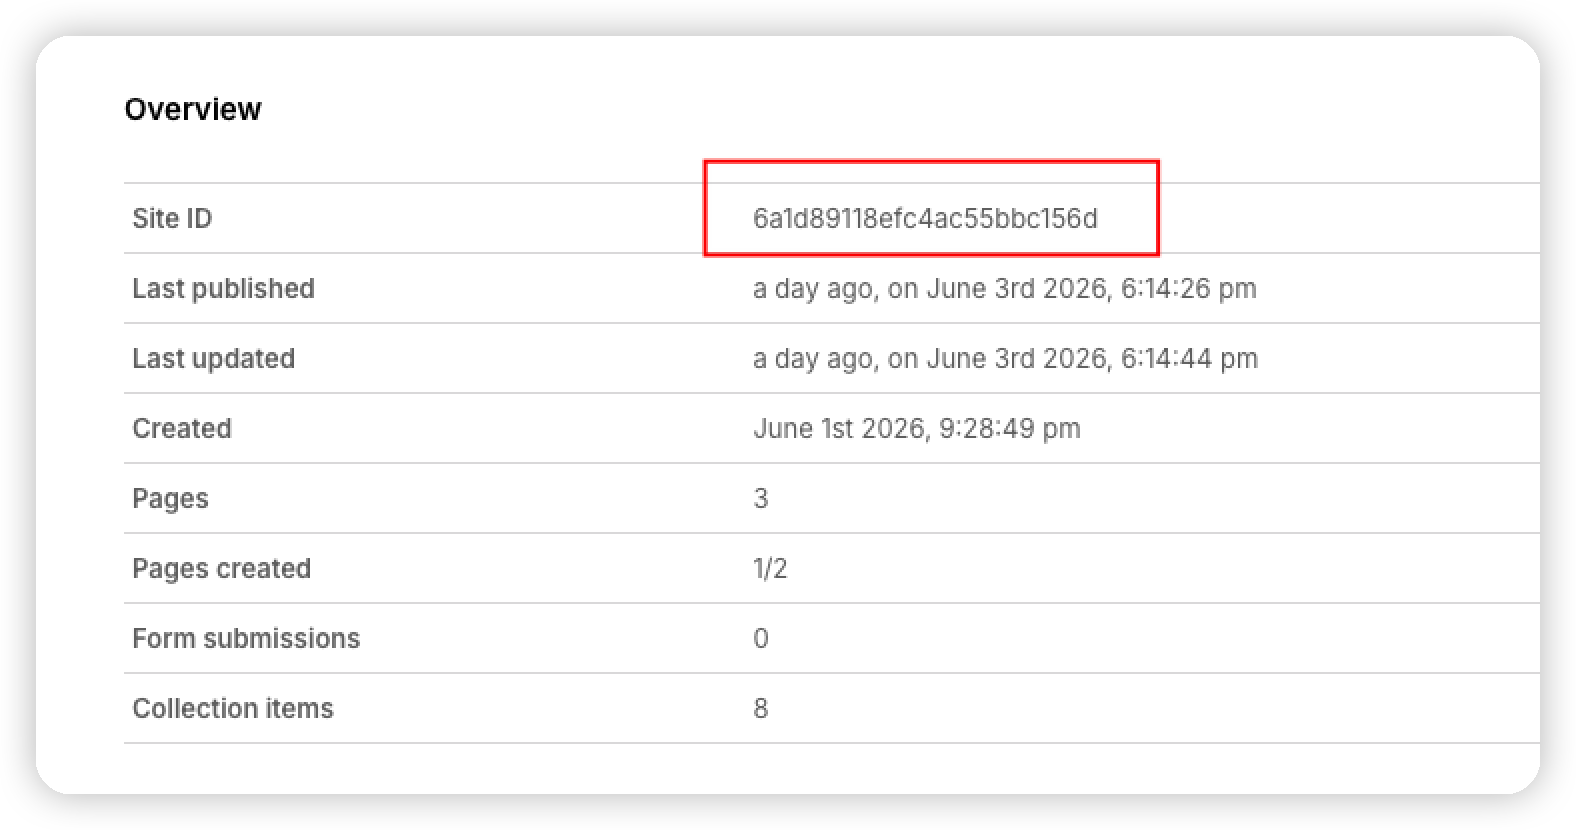
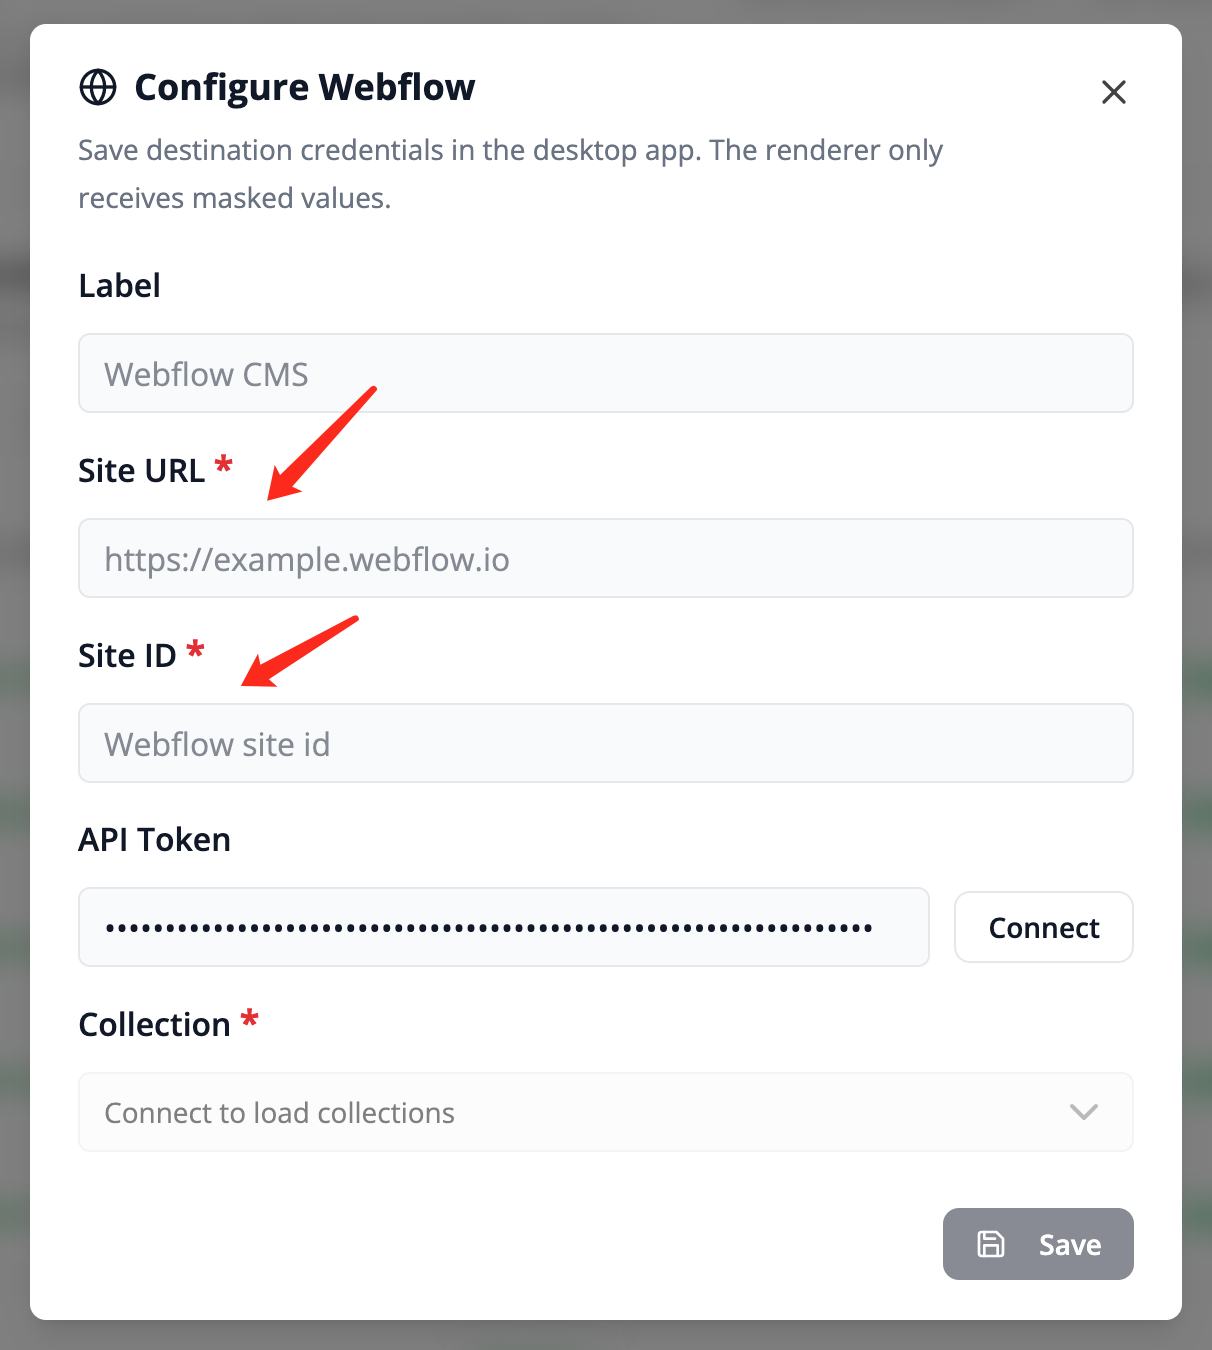
Go to Site Settings → General → Overview and copy your Site ID.
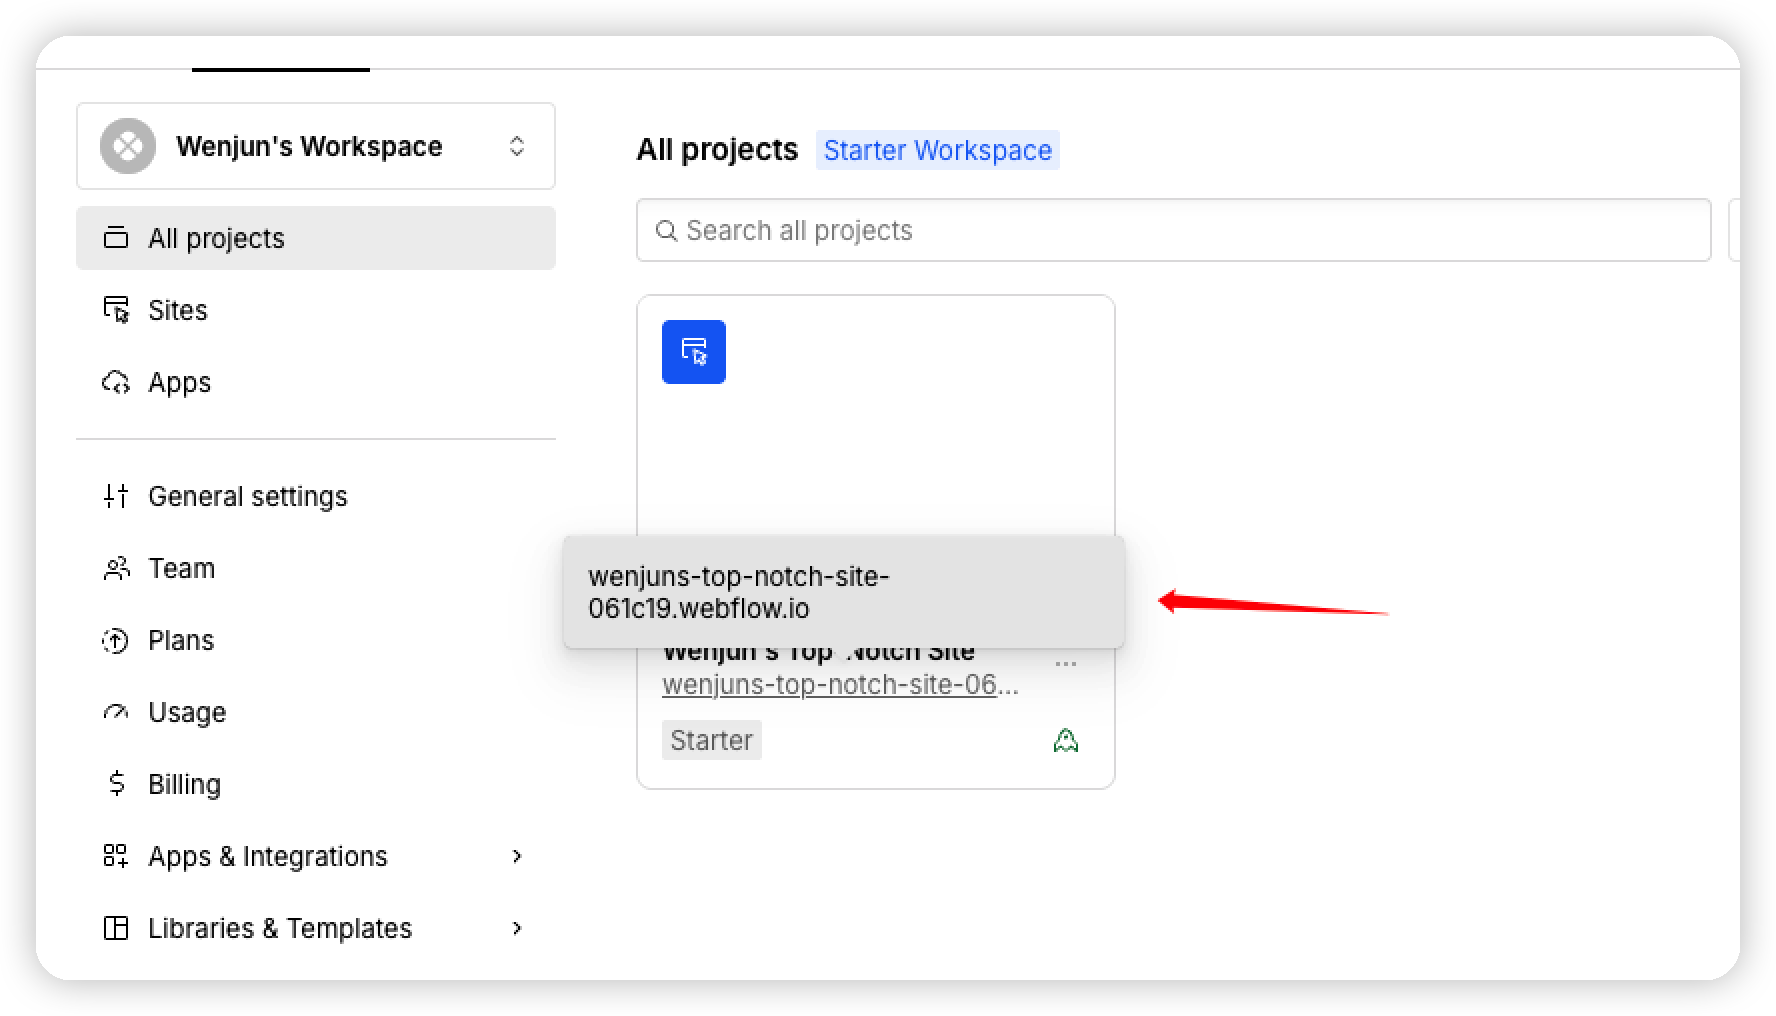
Find your site and copy the Site URL from its site card.
Enter both values in their corresponding fields in Frevana.
Step 3: Create a CMS Collection
Open the CMS section in Webflow.
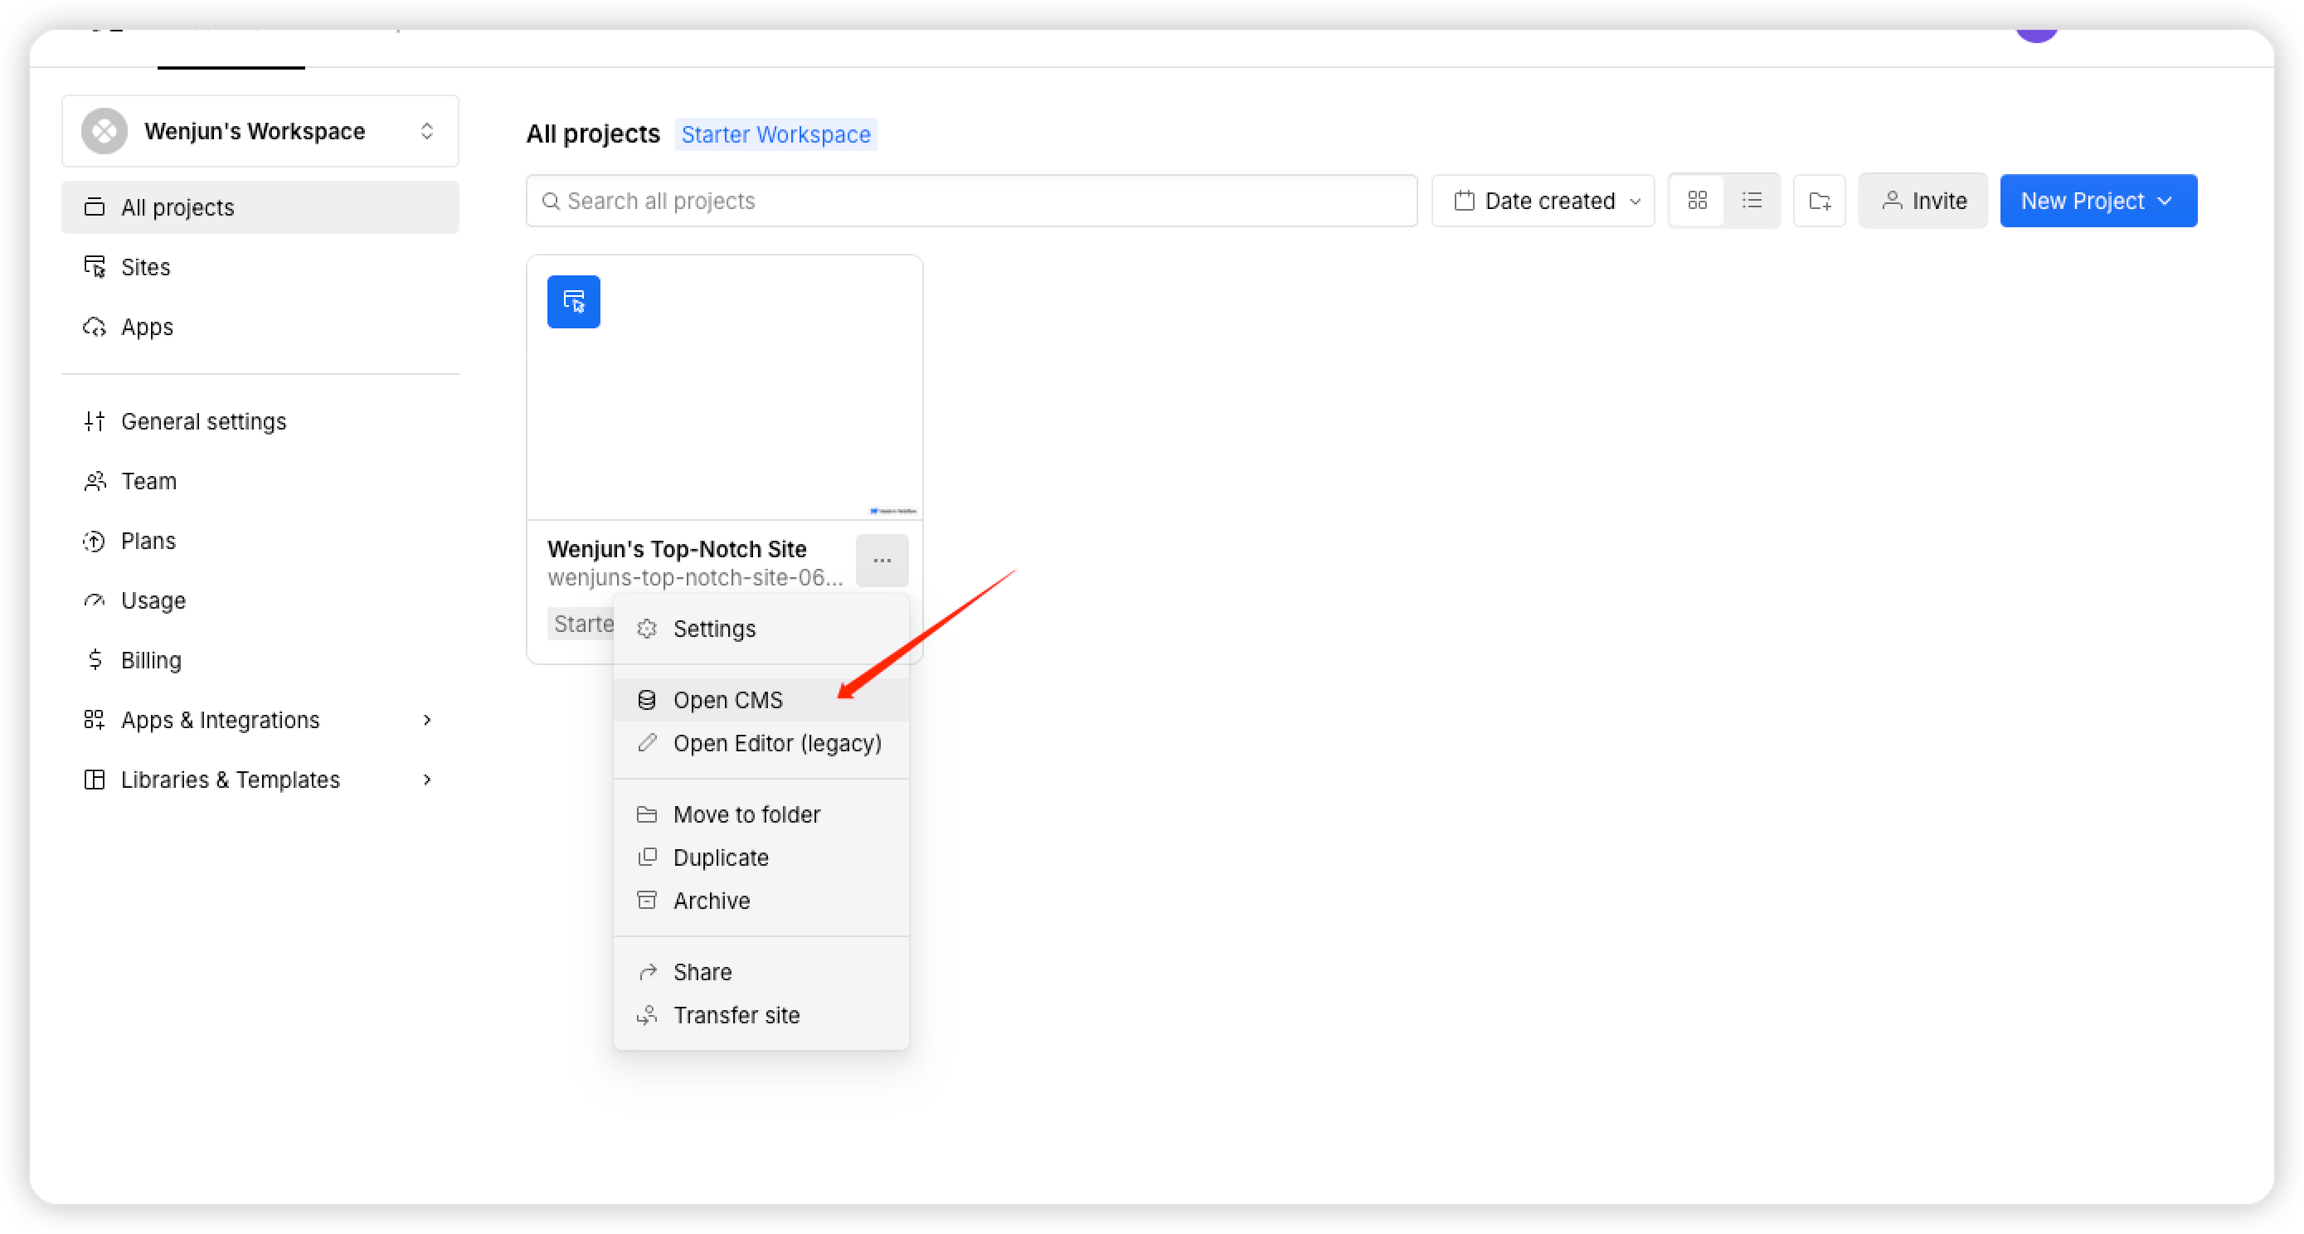
Select +, choose Blog Post Collection Template, and enter a collection name and URL. Then select Create Collection.
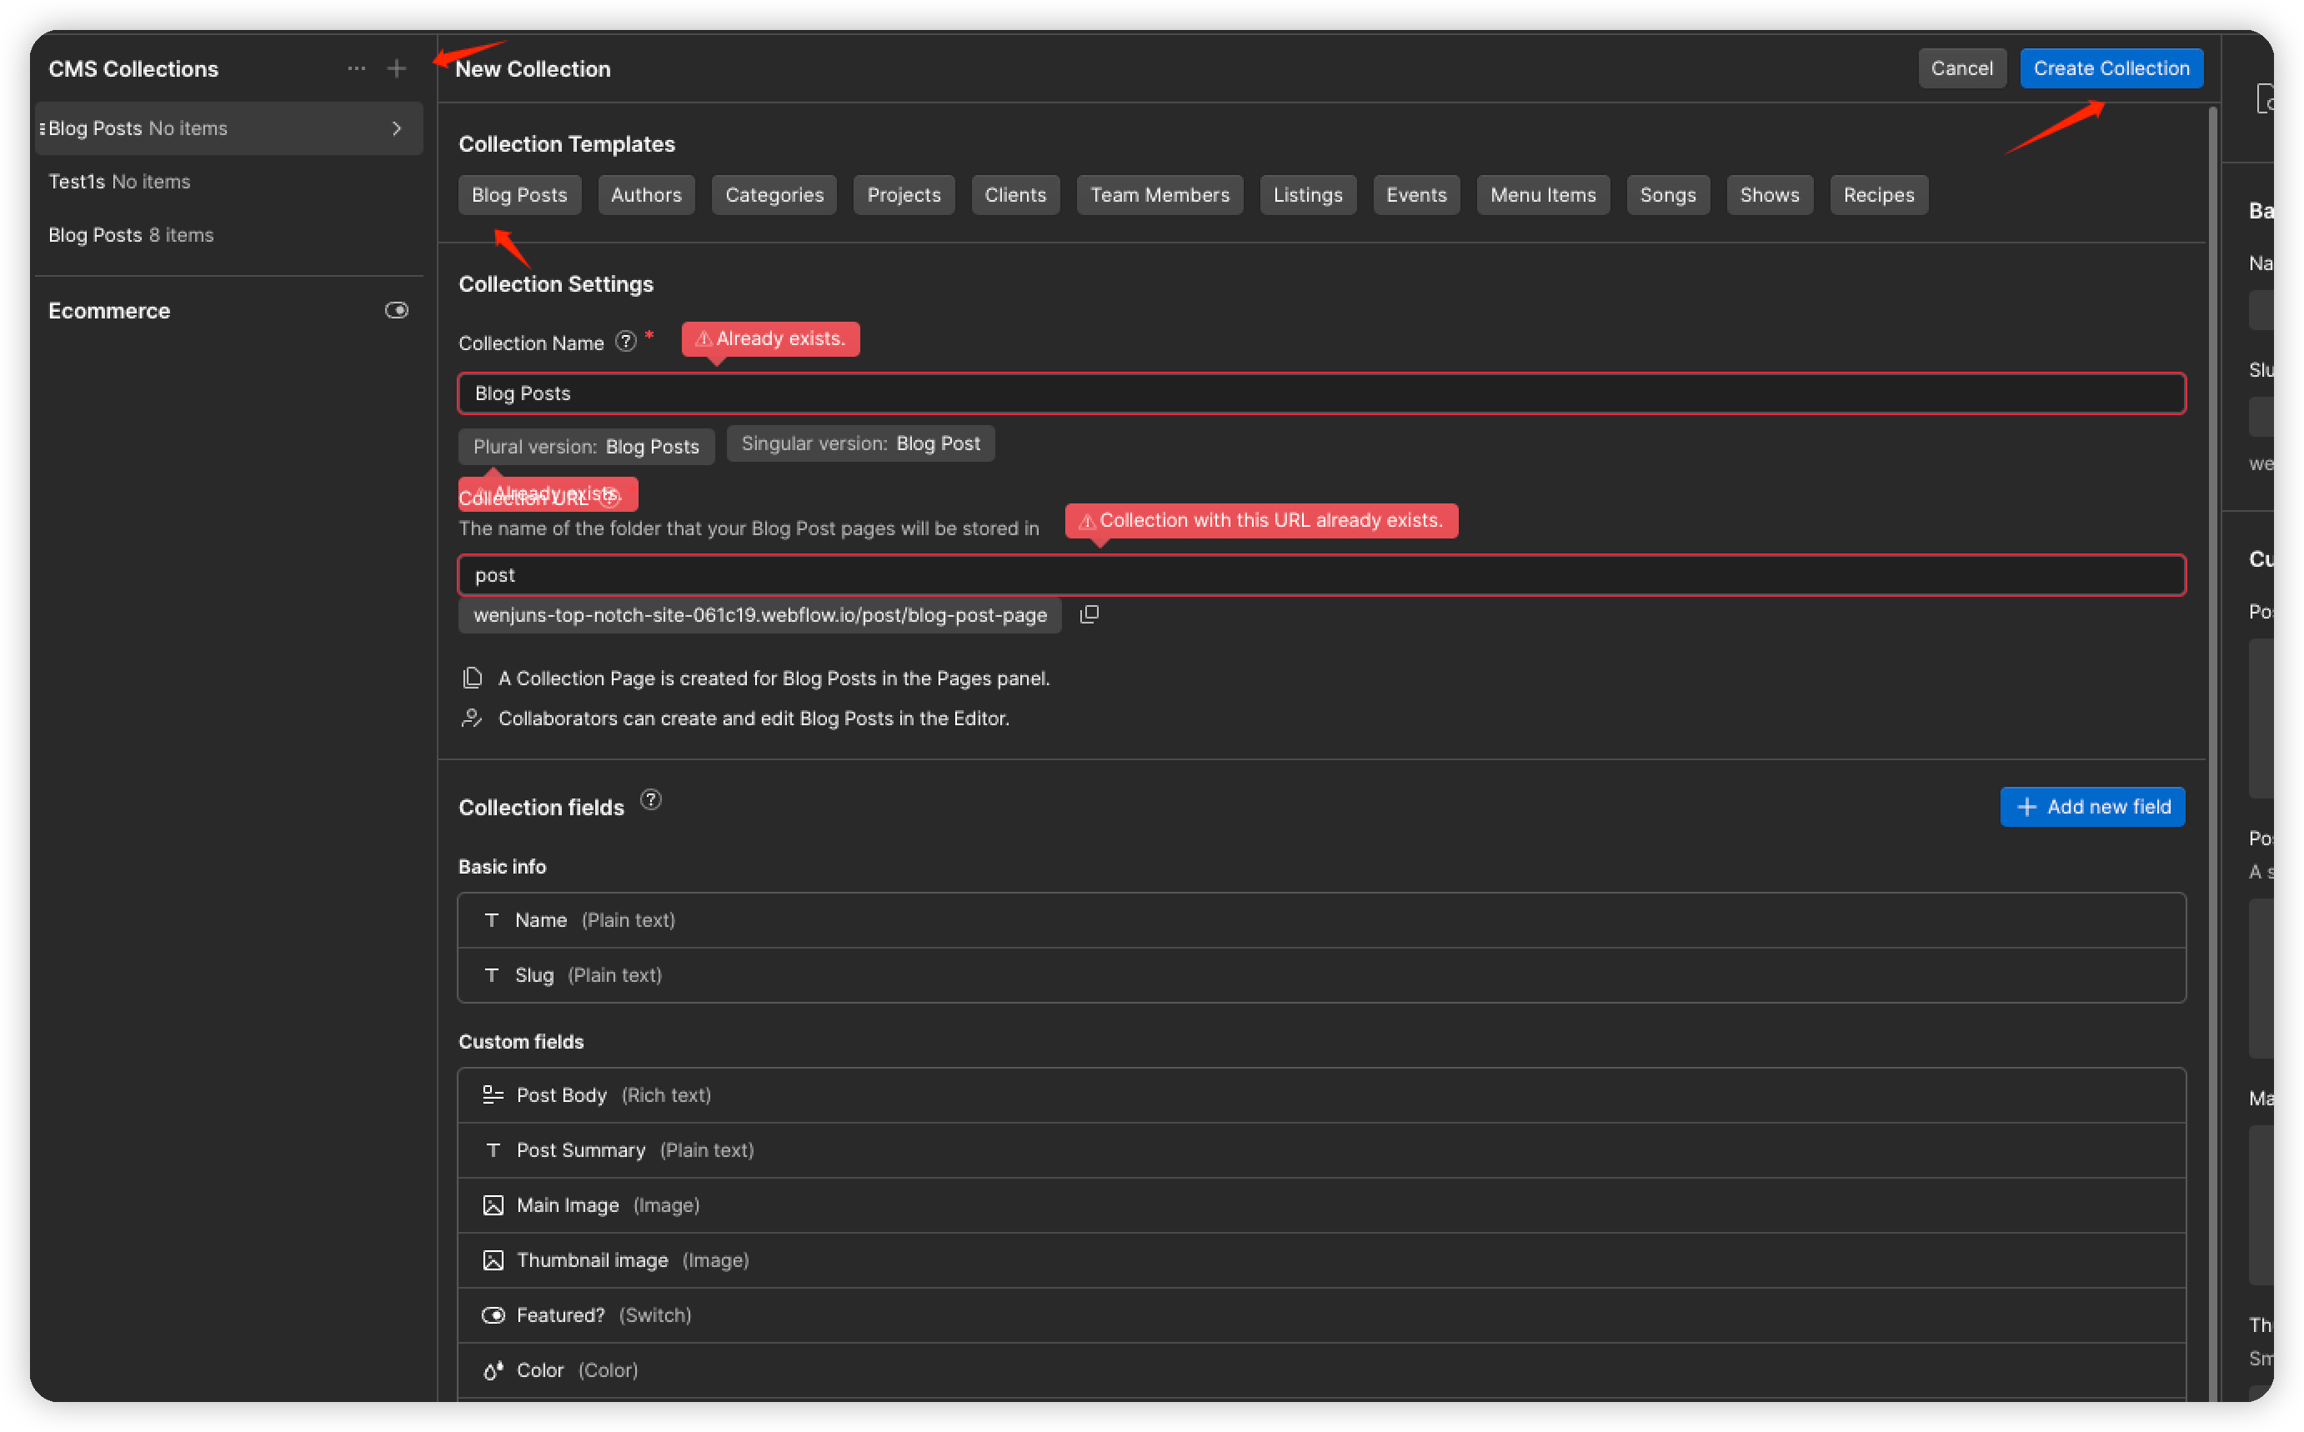
Keep the template's default collection fields unchanged for compatibility with Frevana publishing.
Step 4: Set up the Collection Page
Open Designer to configure the page layout.
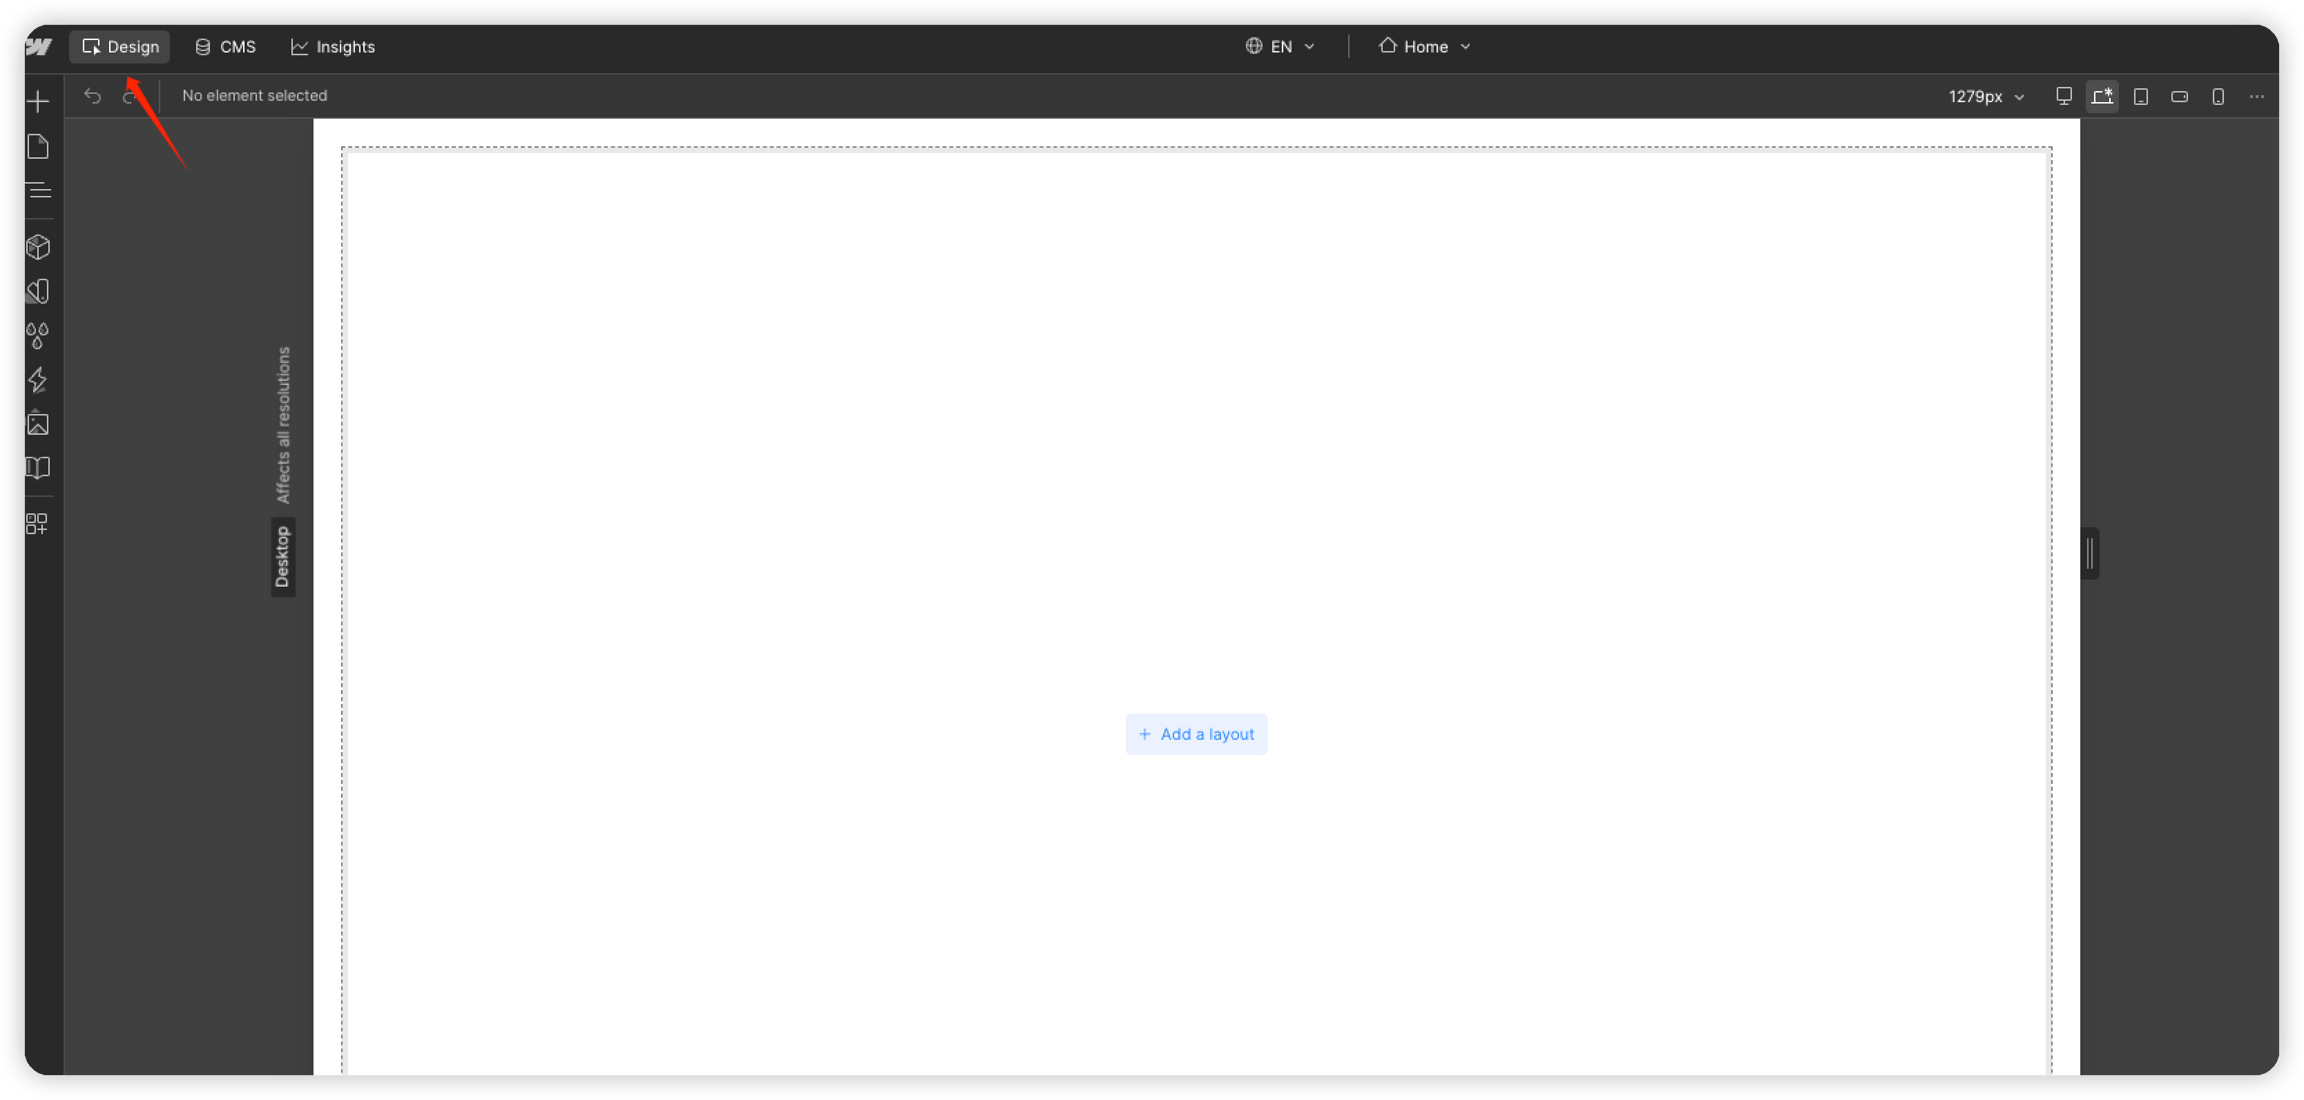
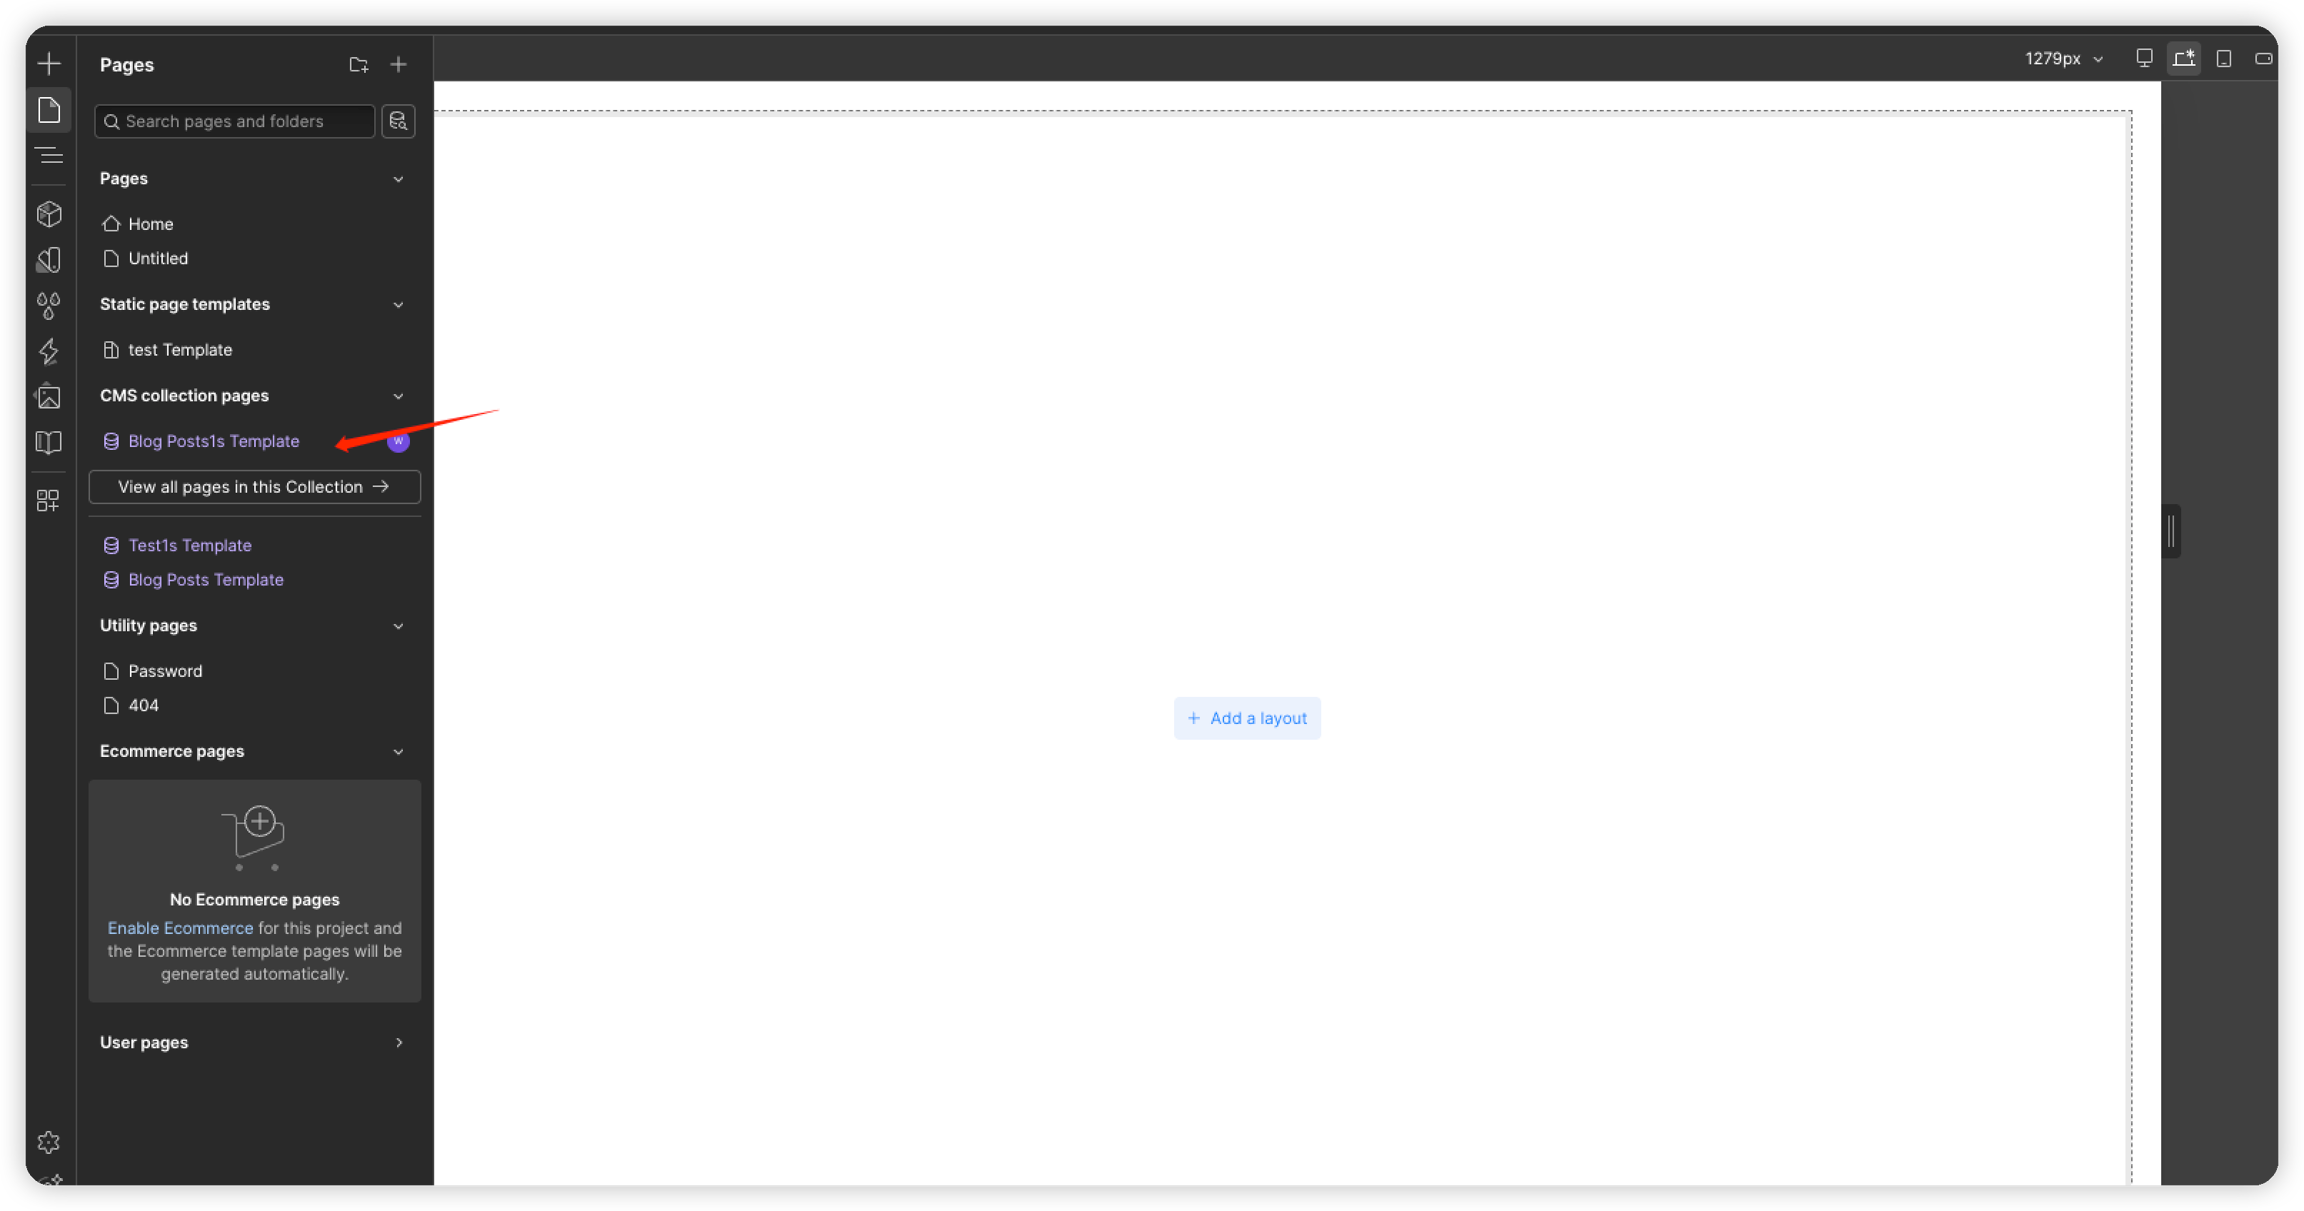
In the Pages panel on the left, open the CMS Collection Page for your new collection.
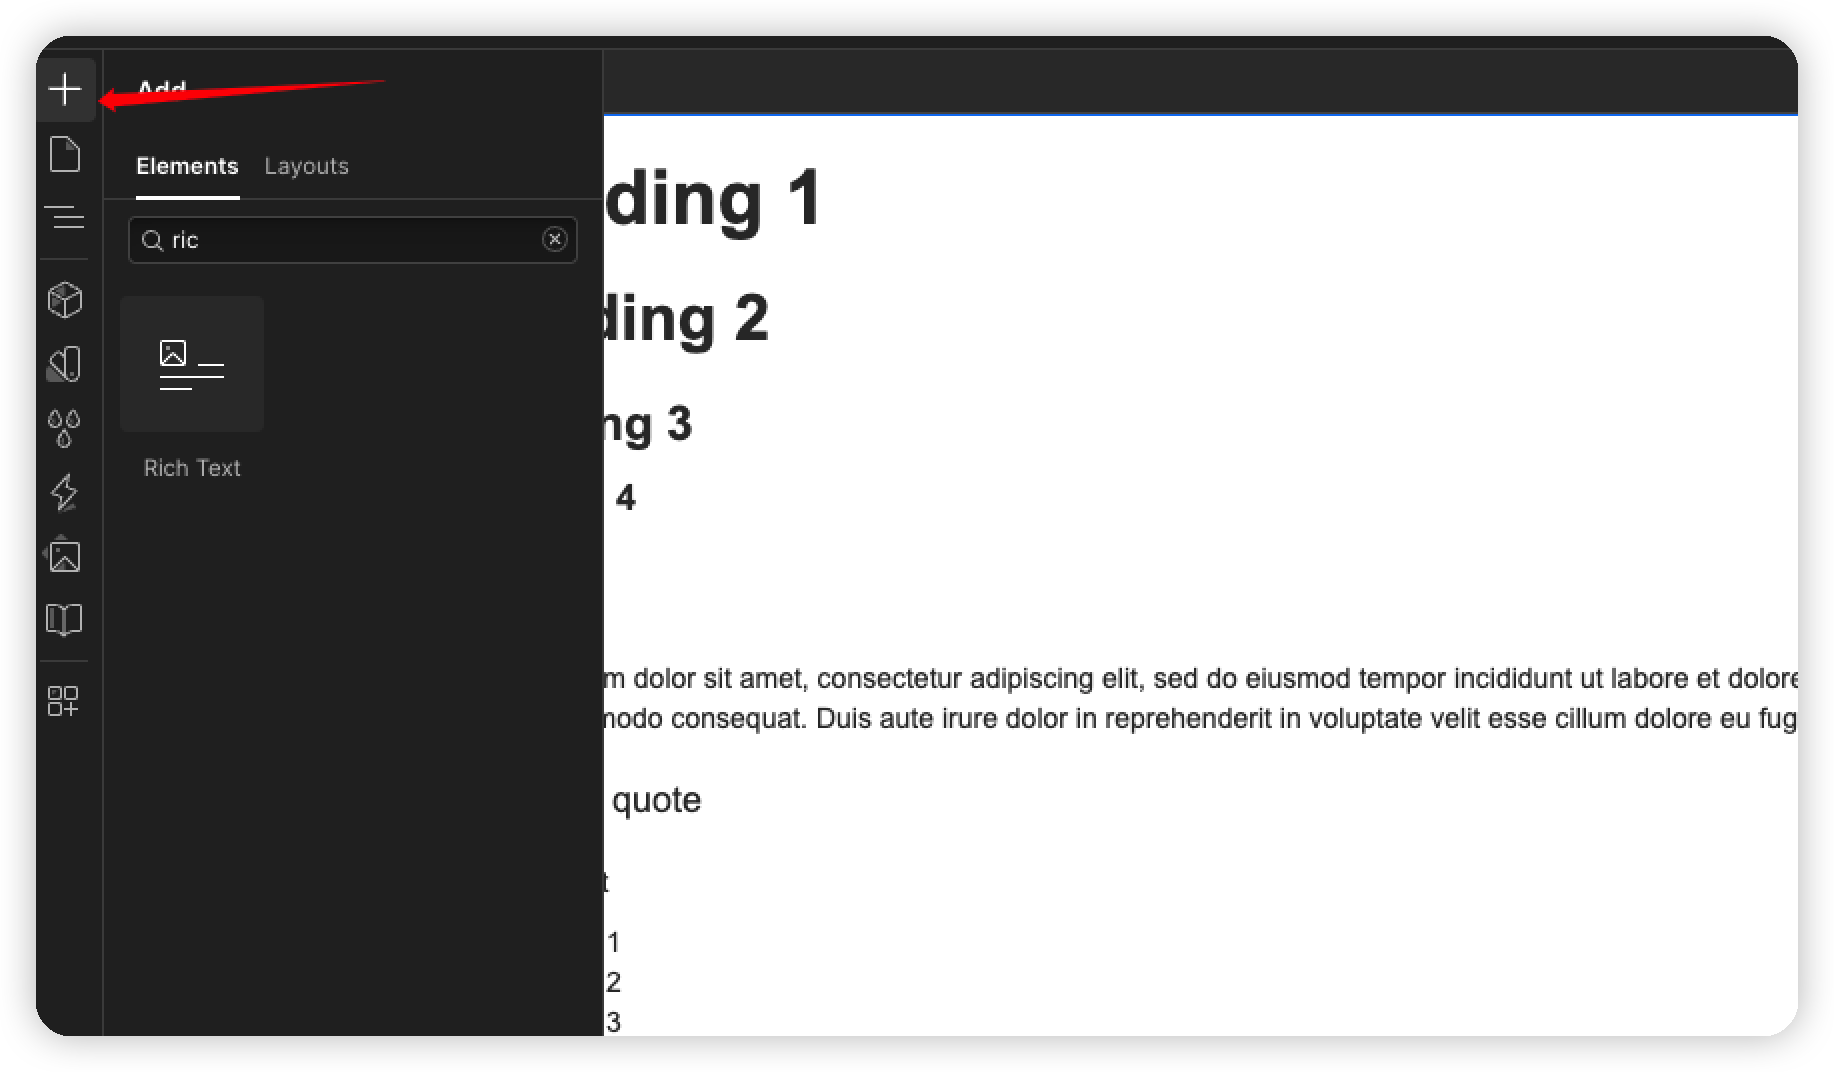
Add a Rich Text element to the page.
Step 5: Connect the Post Body field
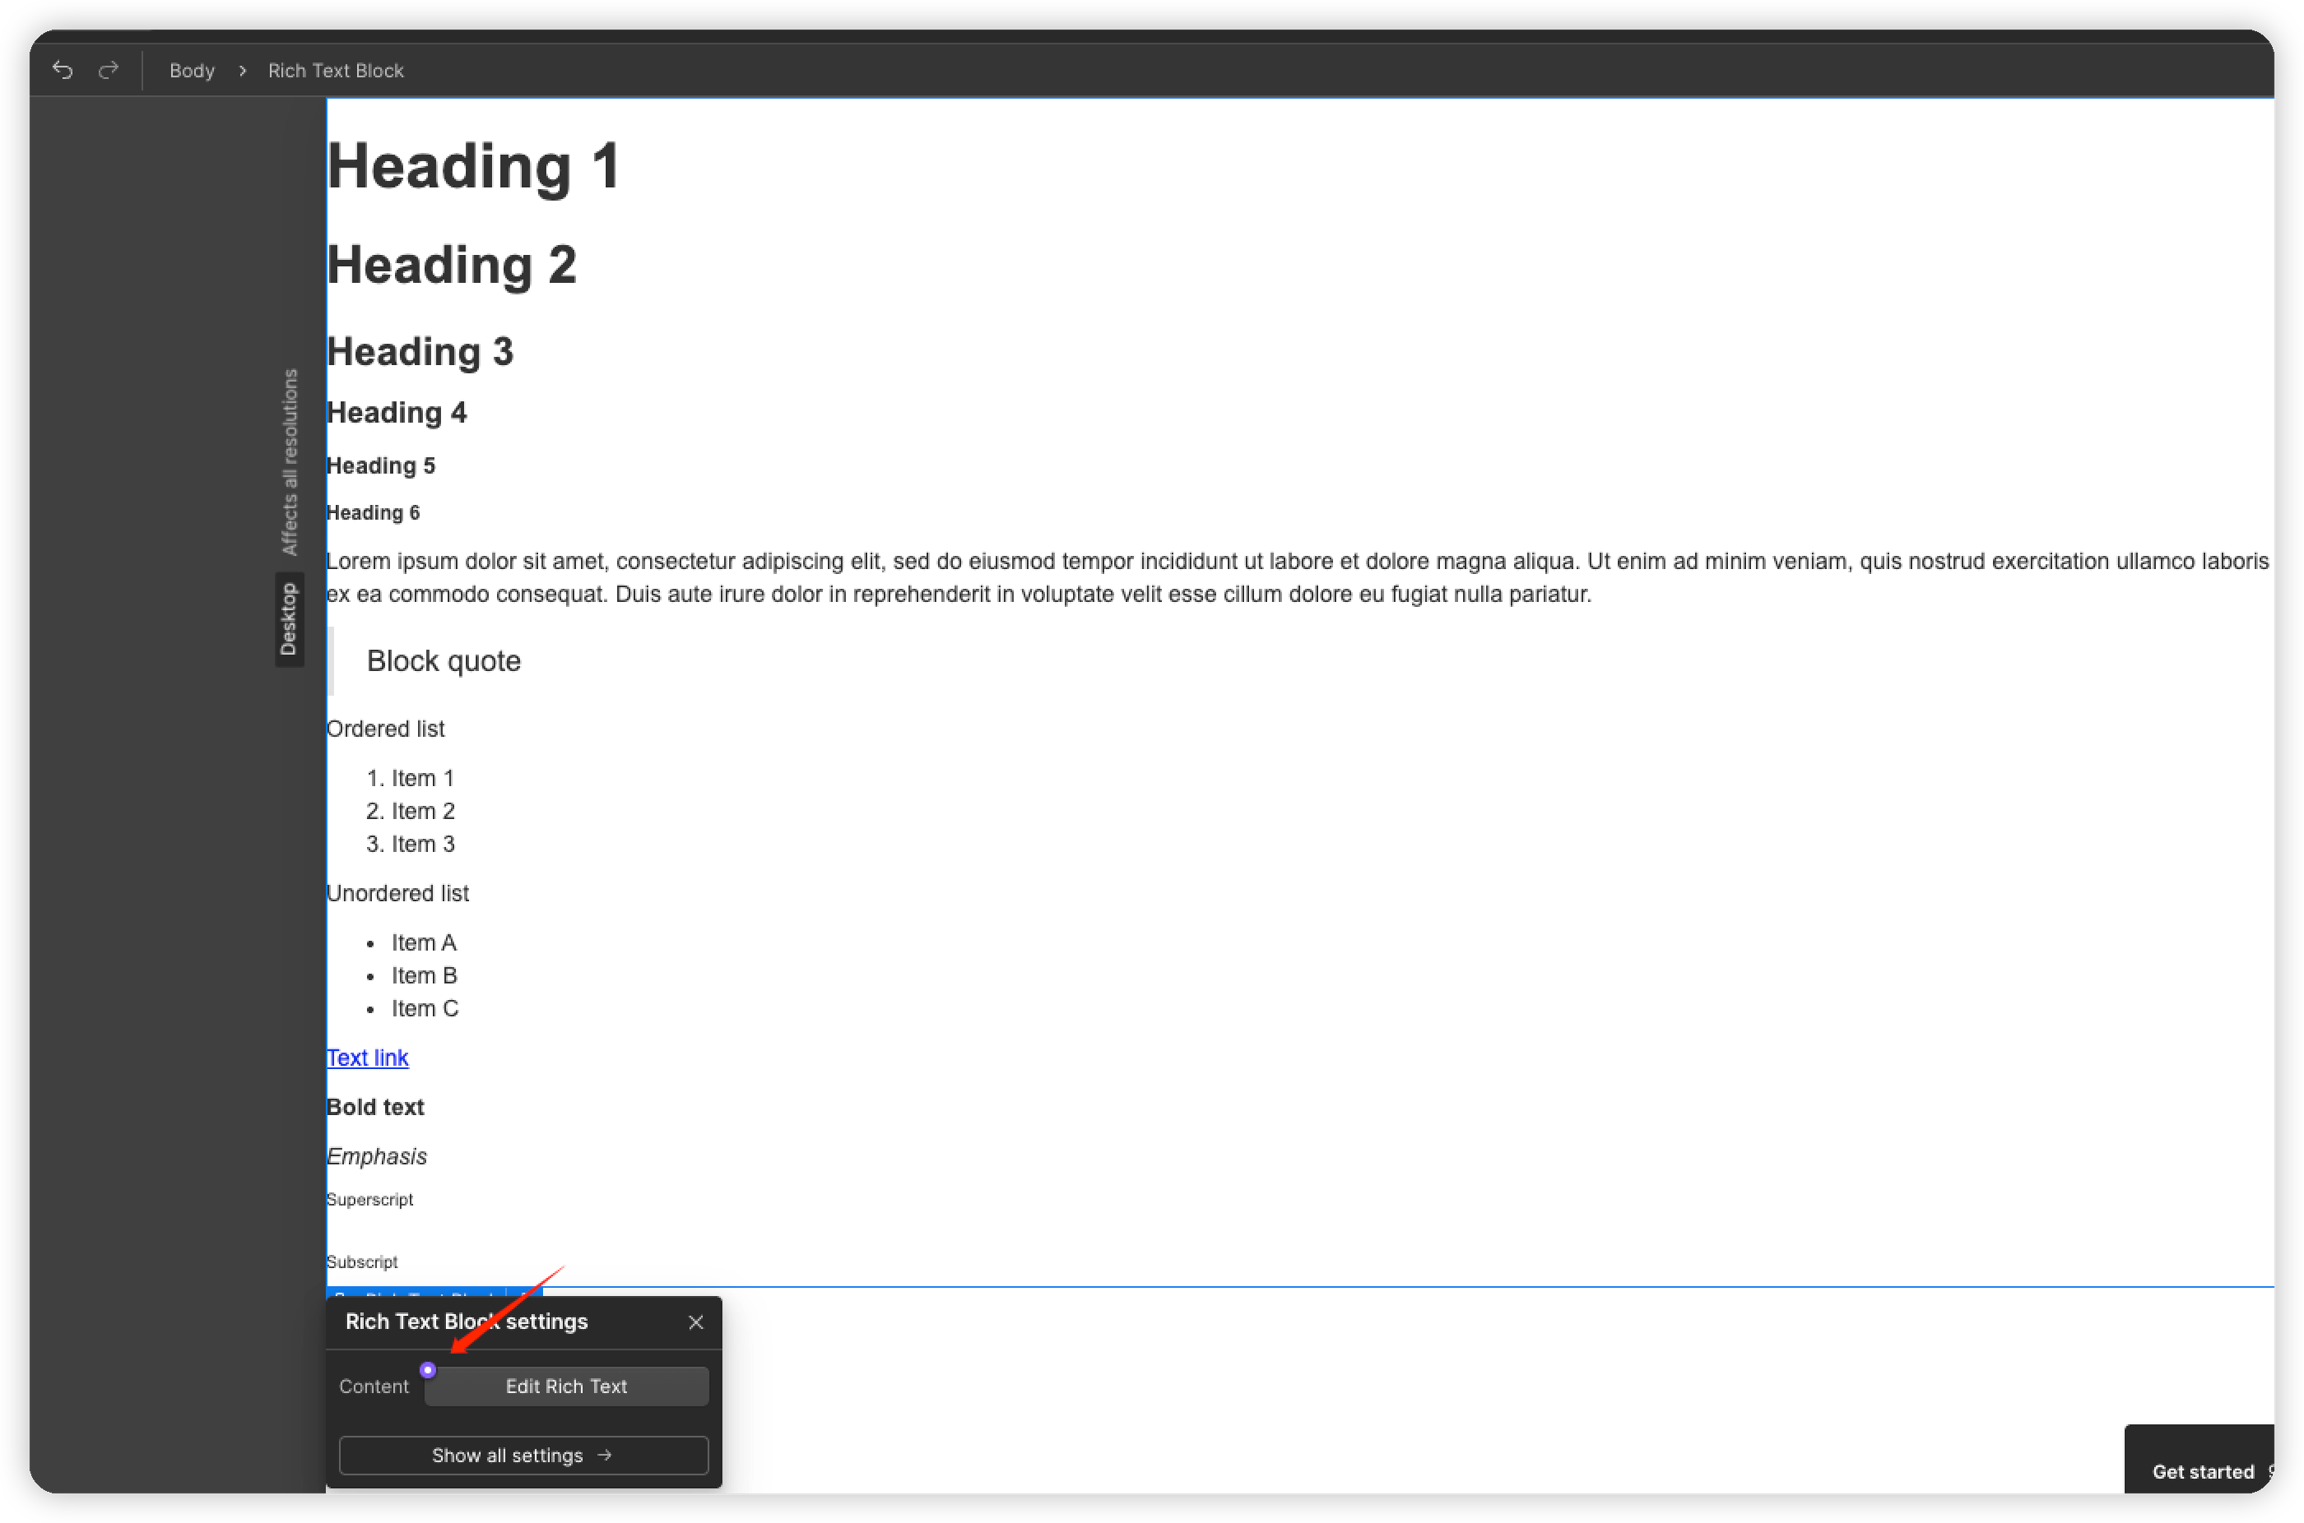
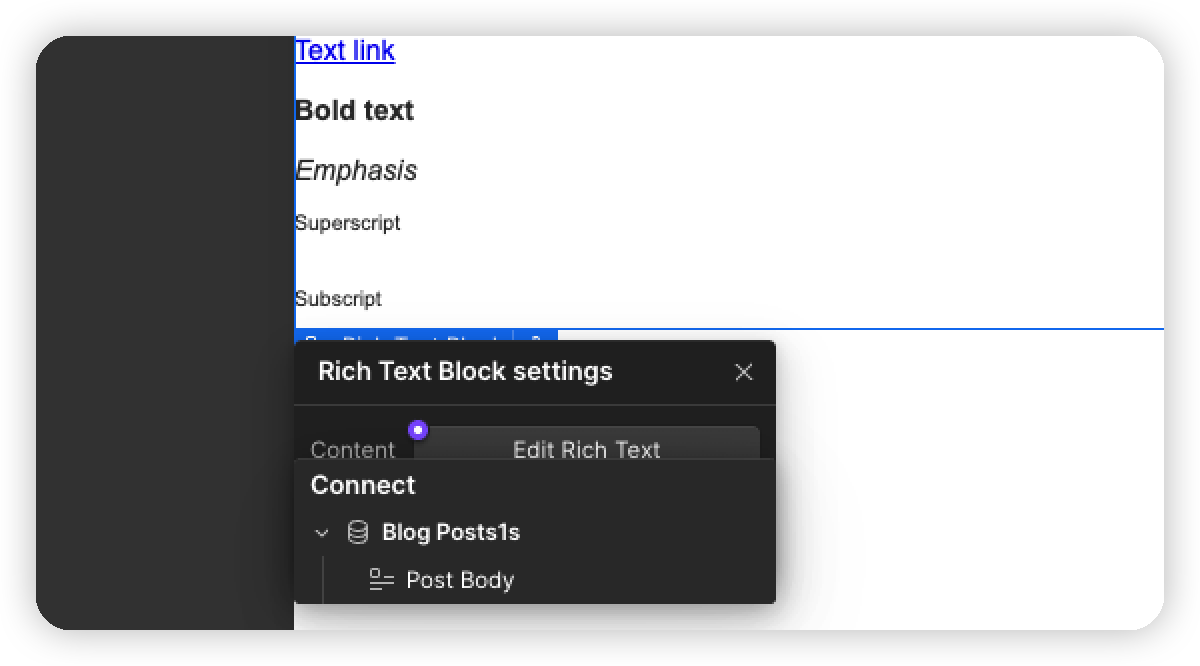
Select the purple data-binding icon on the Rich Text element, then choose Post Body. This connects the element to your collection's content.
Step 6: Set the layout and publish
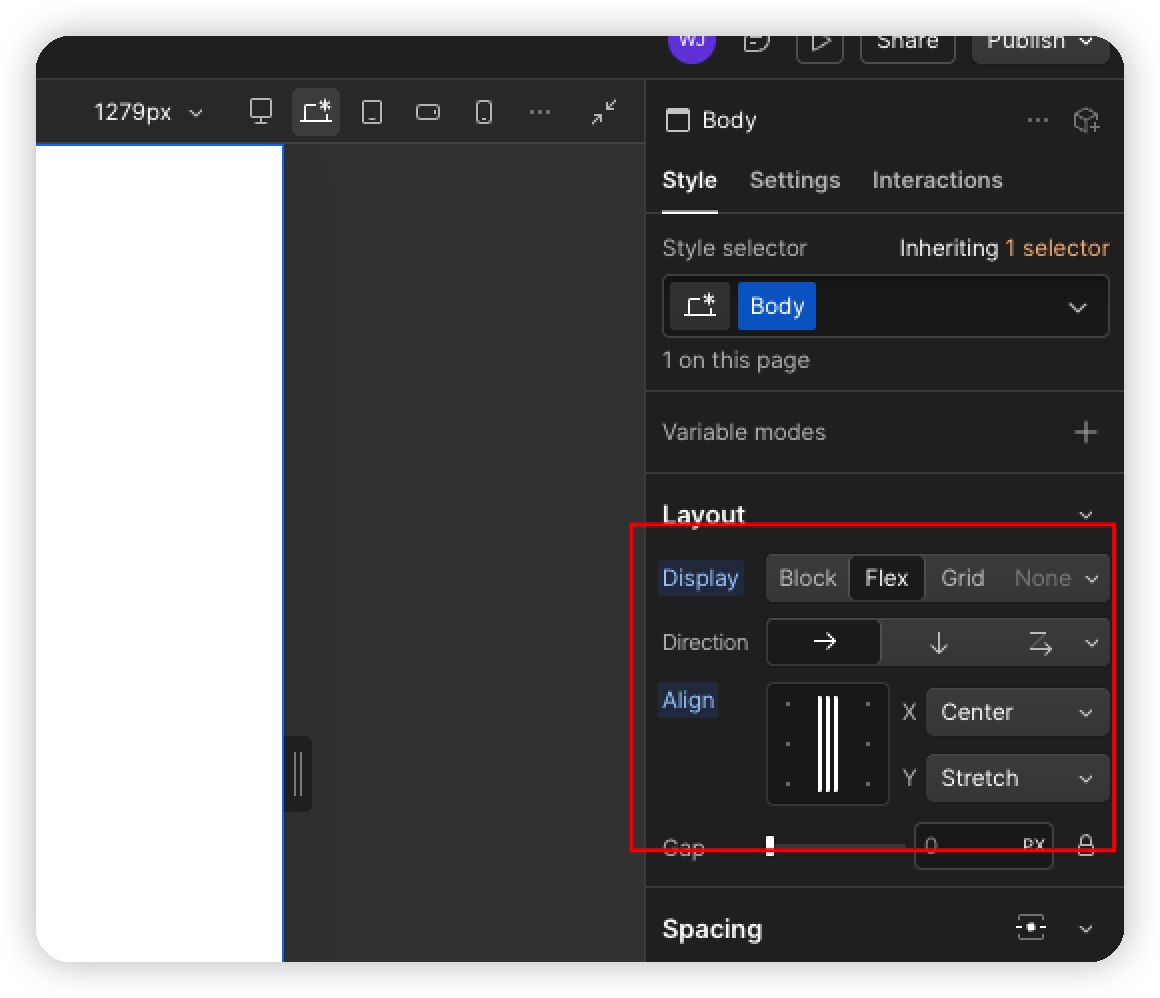
In the settings panel on the right, set Layout to Flex and Align X to Center.
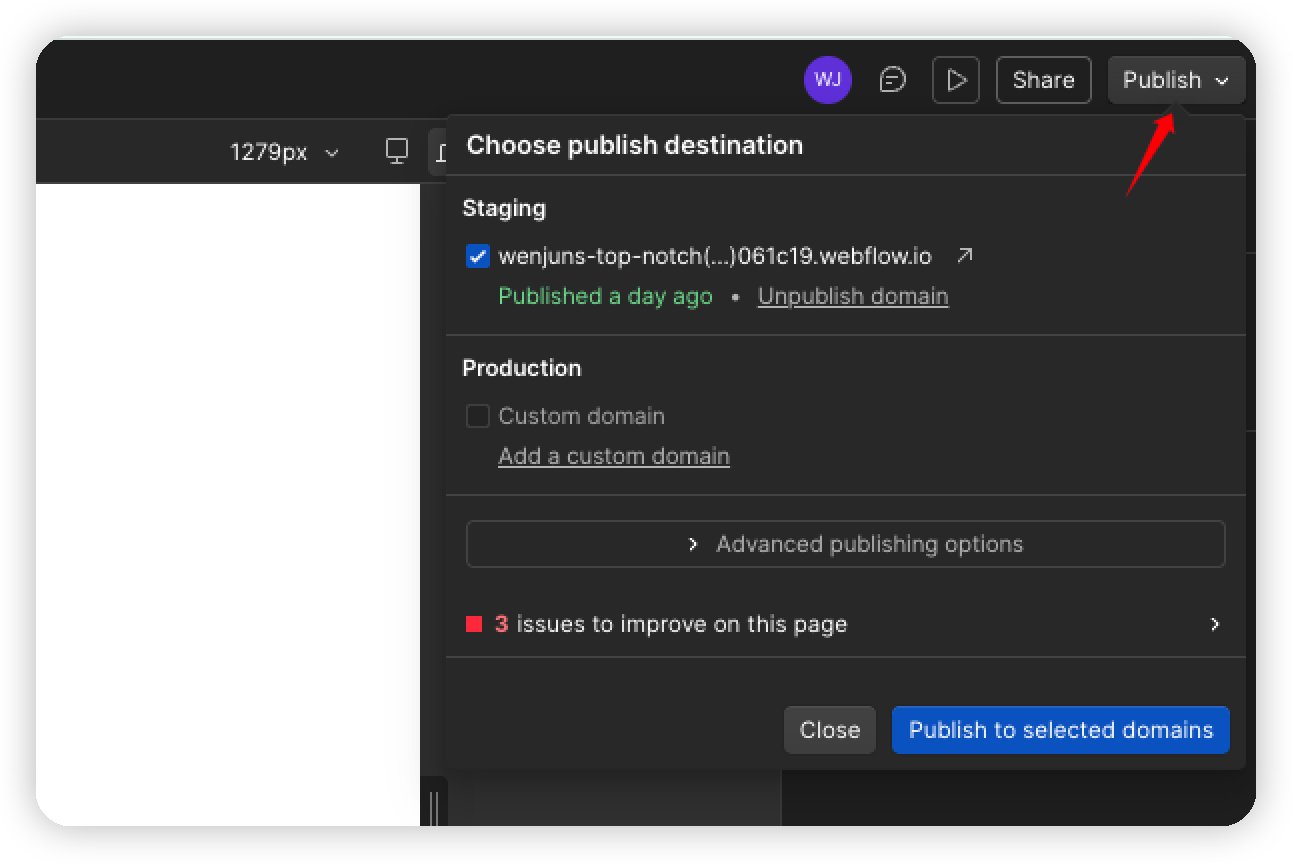
Select Publish in the upper-right corner to publish your site changes.
Ready to publish
Once you've added your API Token, Site ID, and Site URL in Frevana, you're ready to publish content to your Webflow CMS Collection.